Quality Control
01
Raw Material Quality Assurance
Before any raw materials enter our production line, they undergo thorough inspections. Our quality control team ensures that all materials meet our high-quality standards.
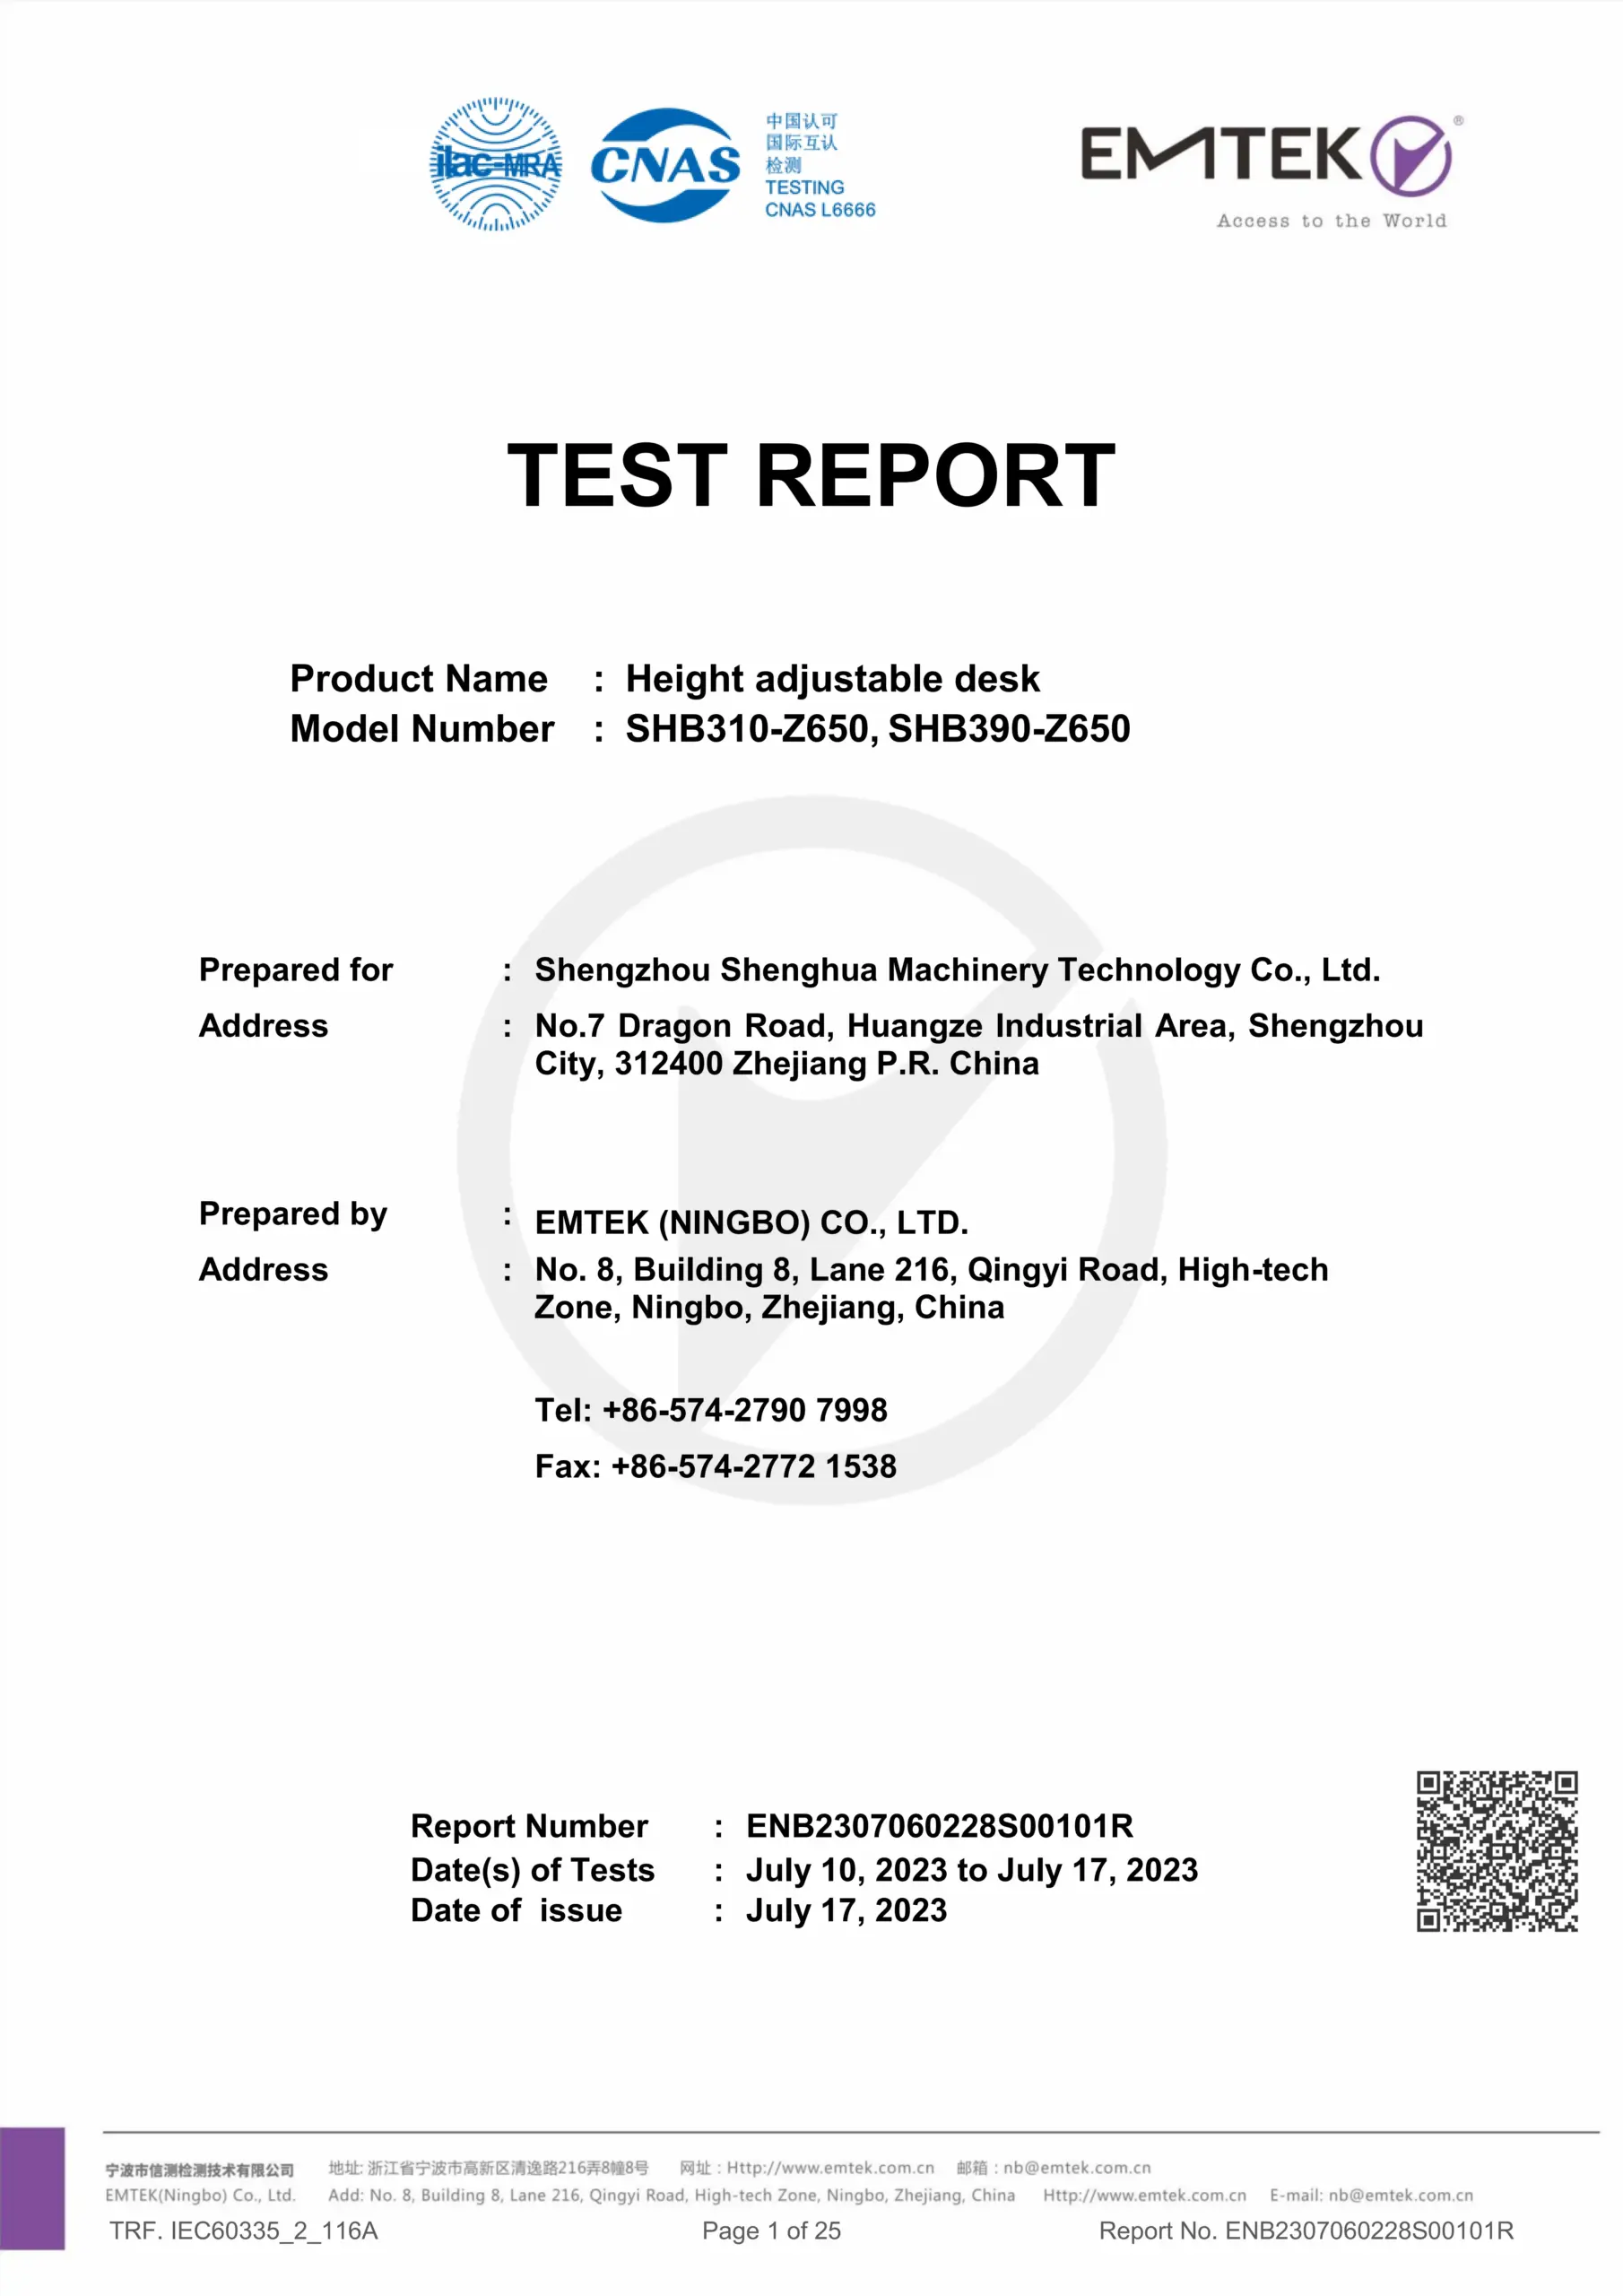
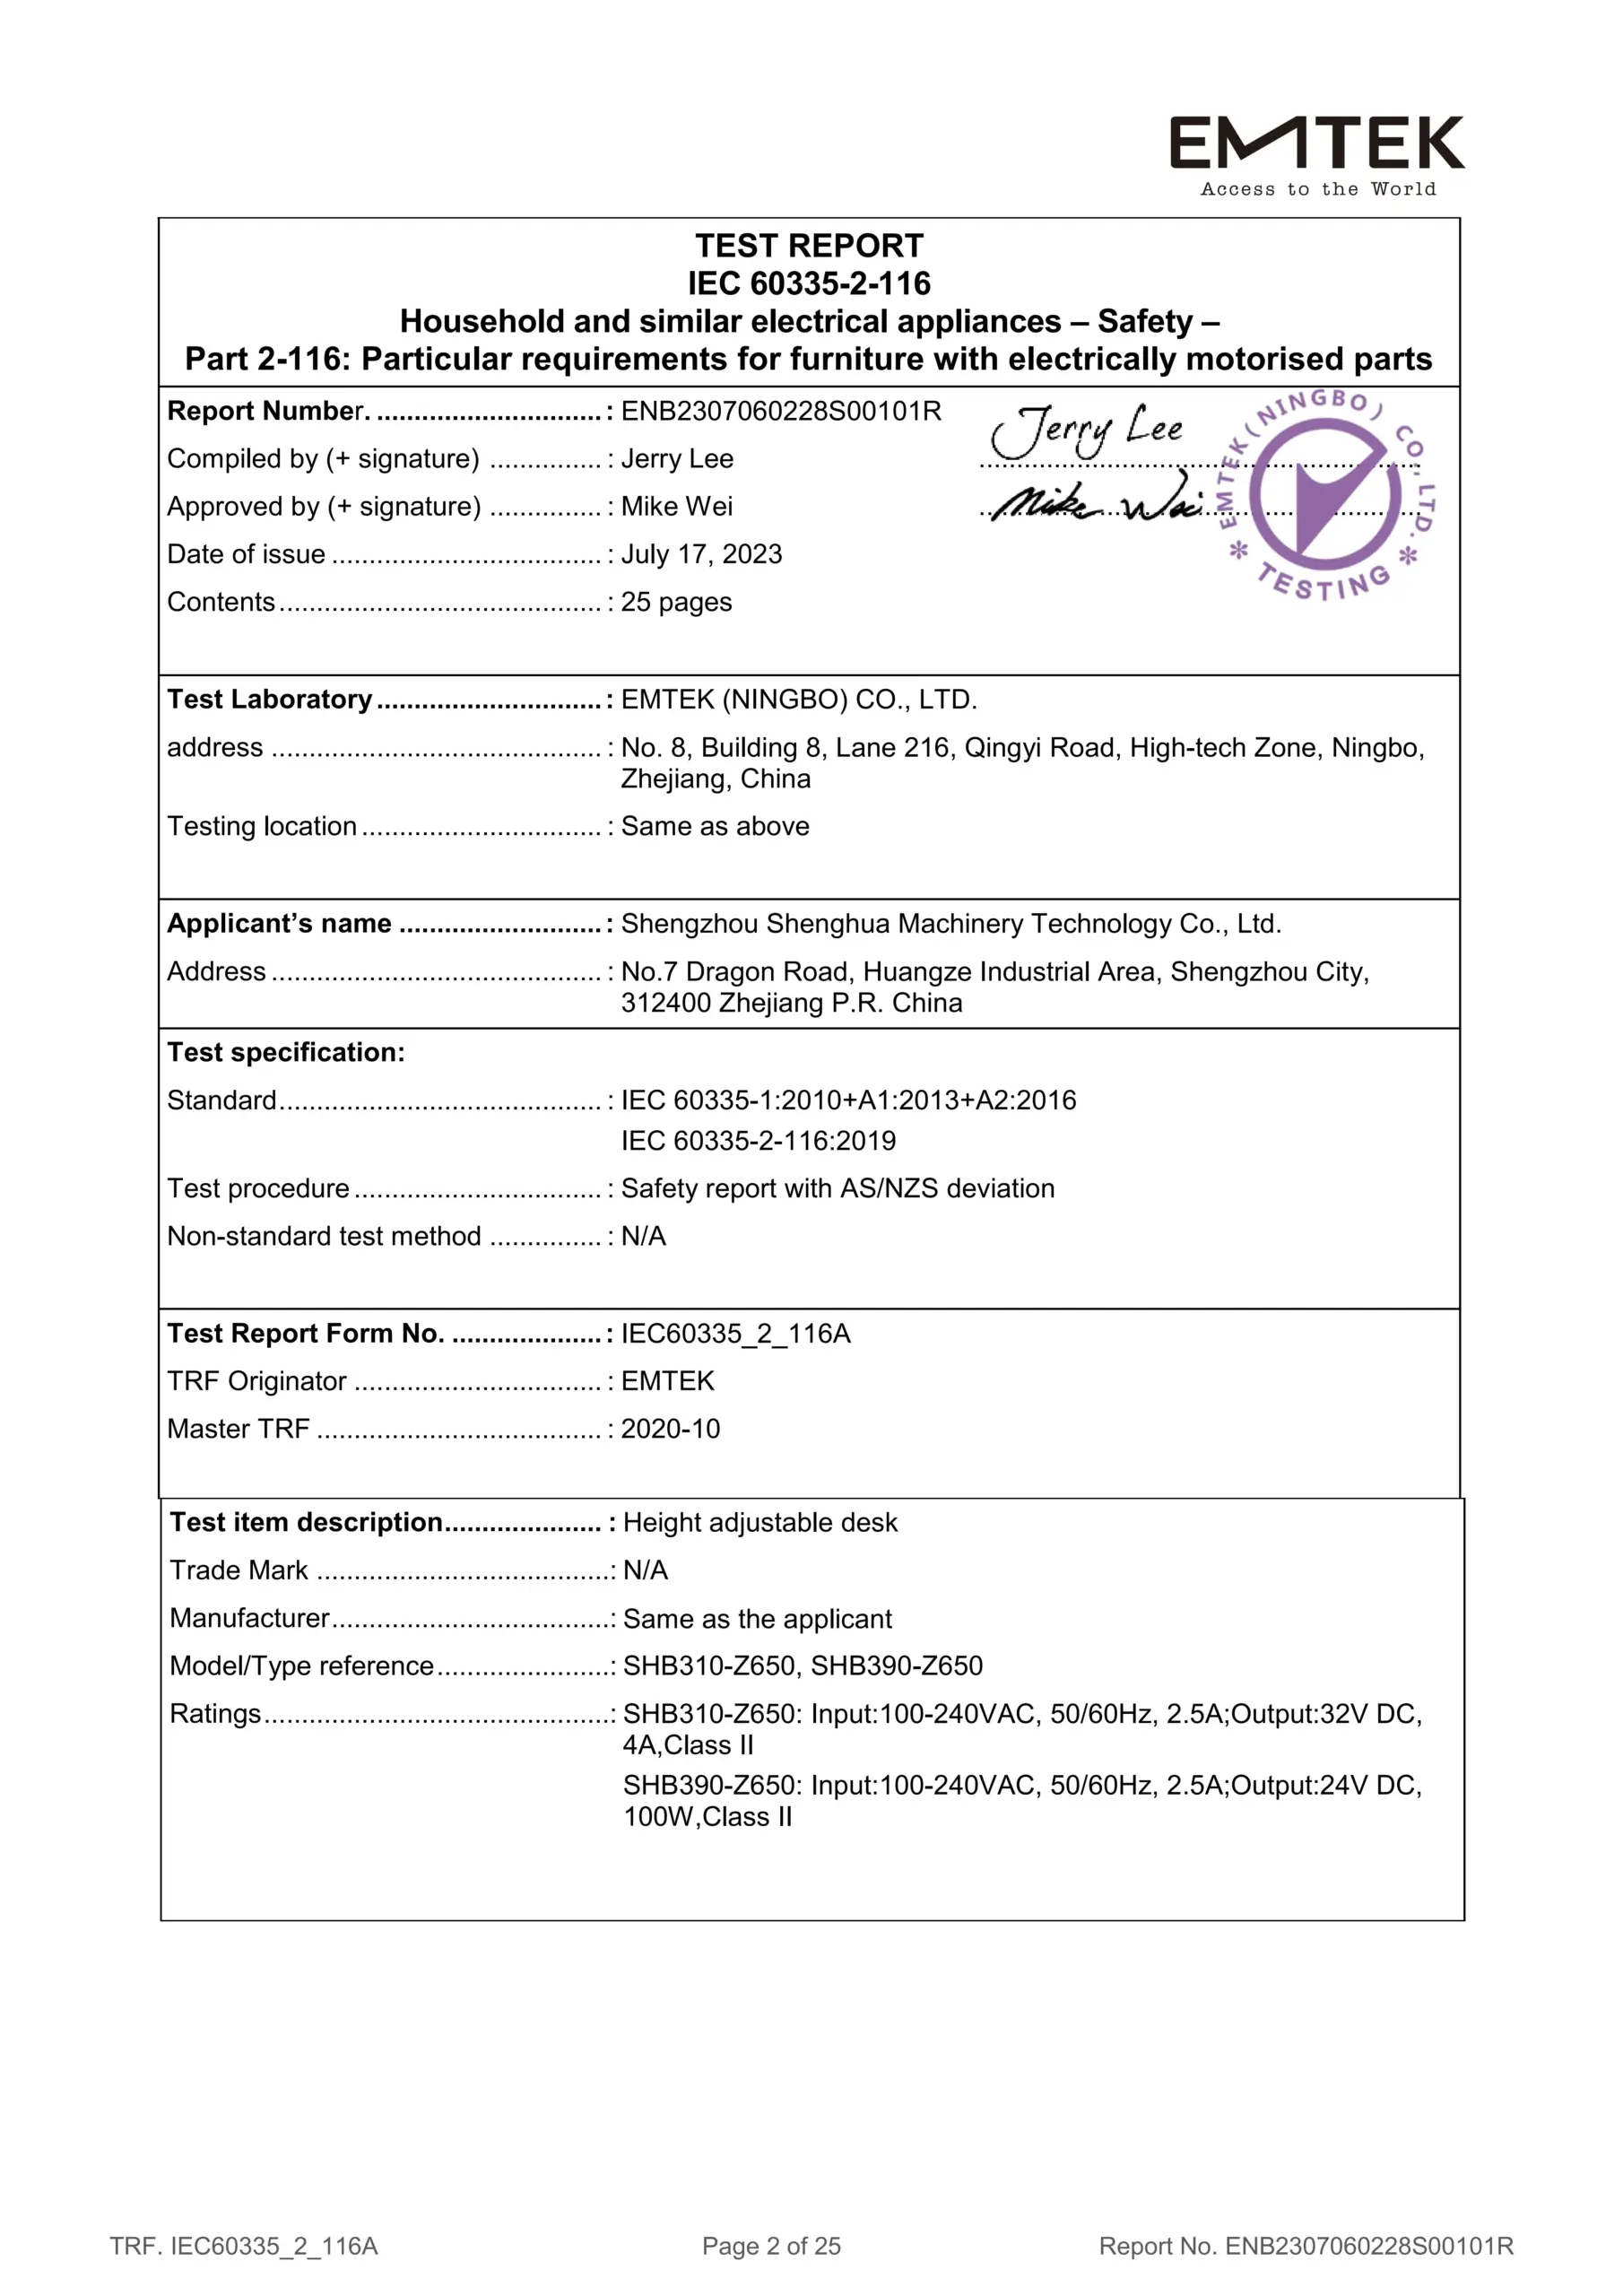
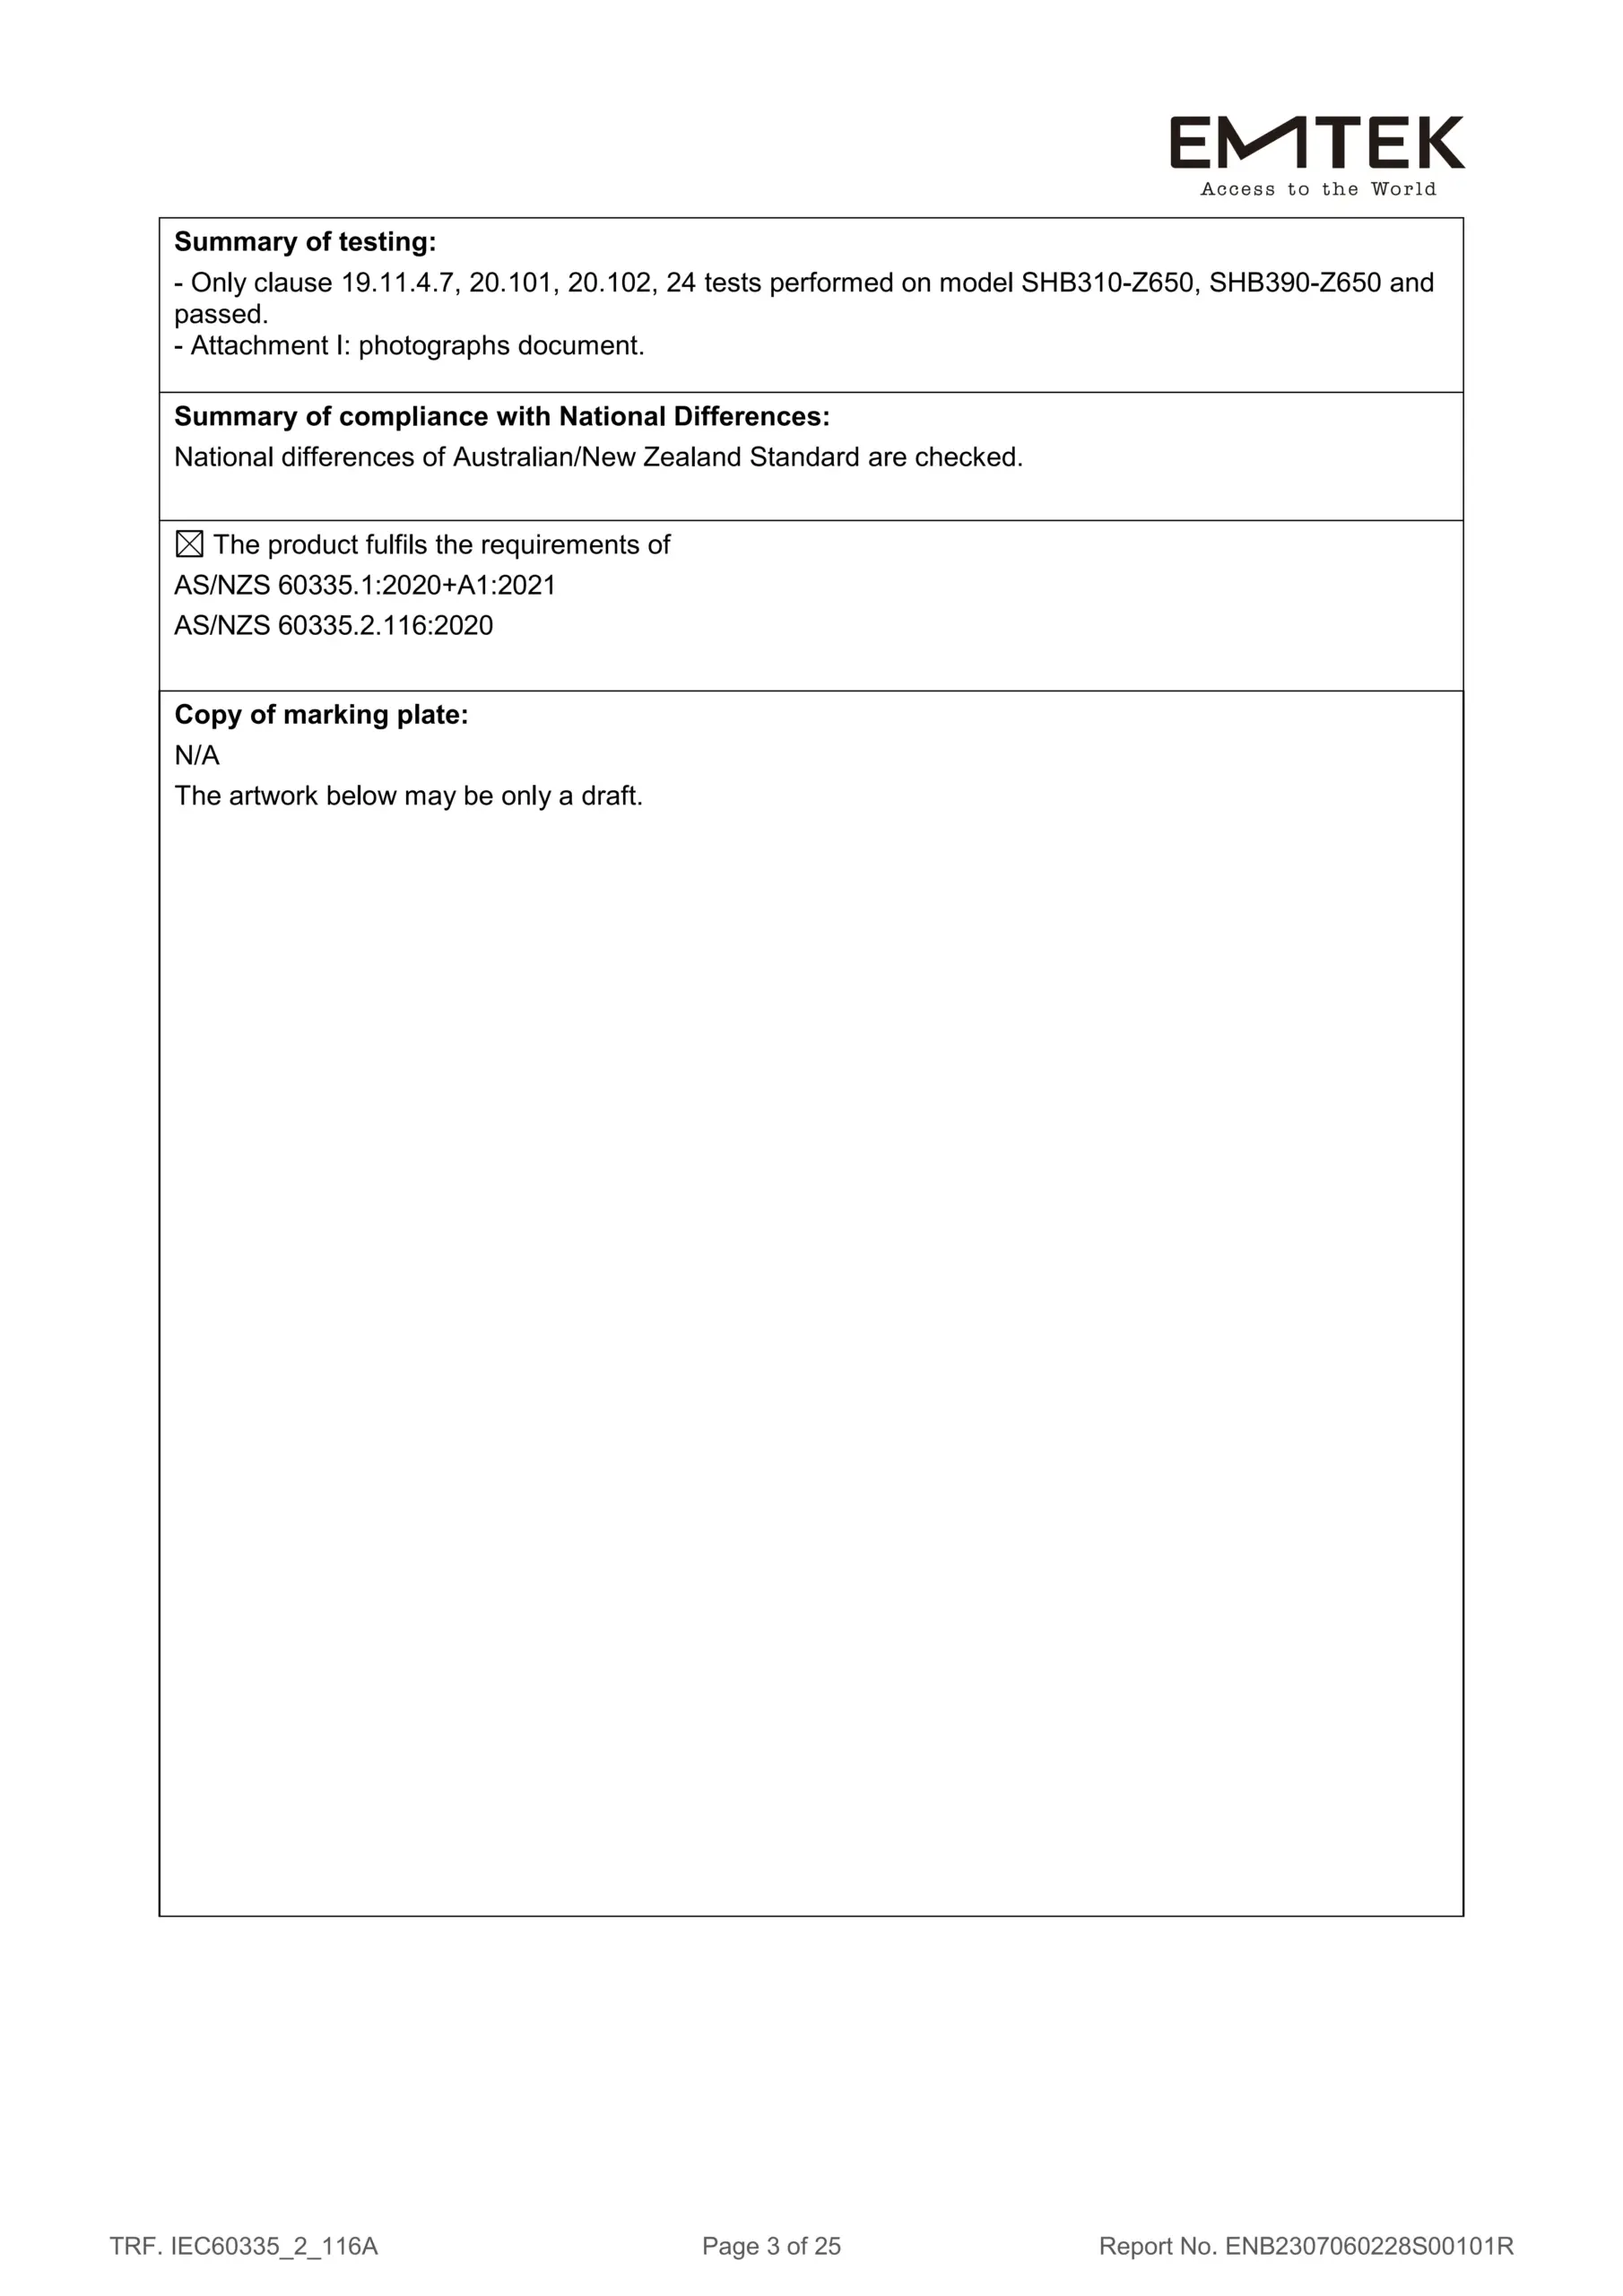
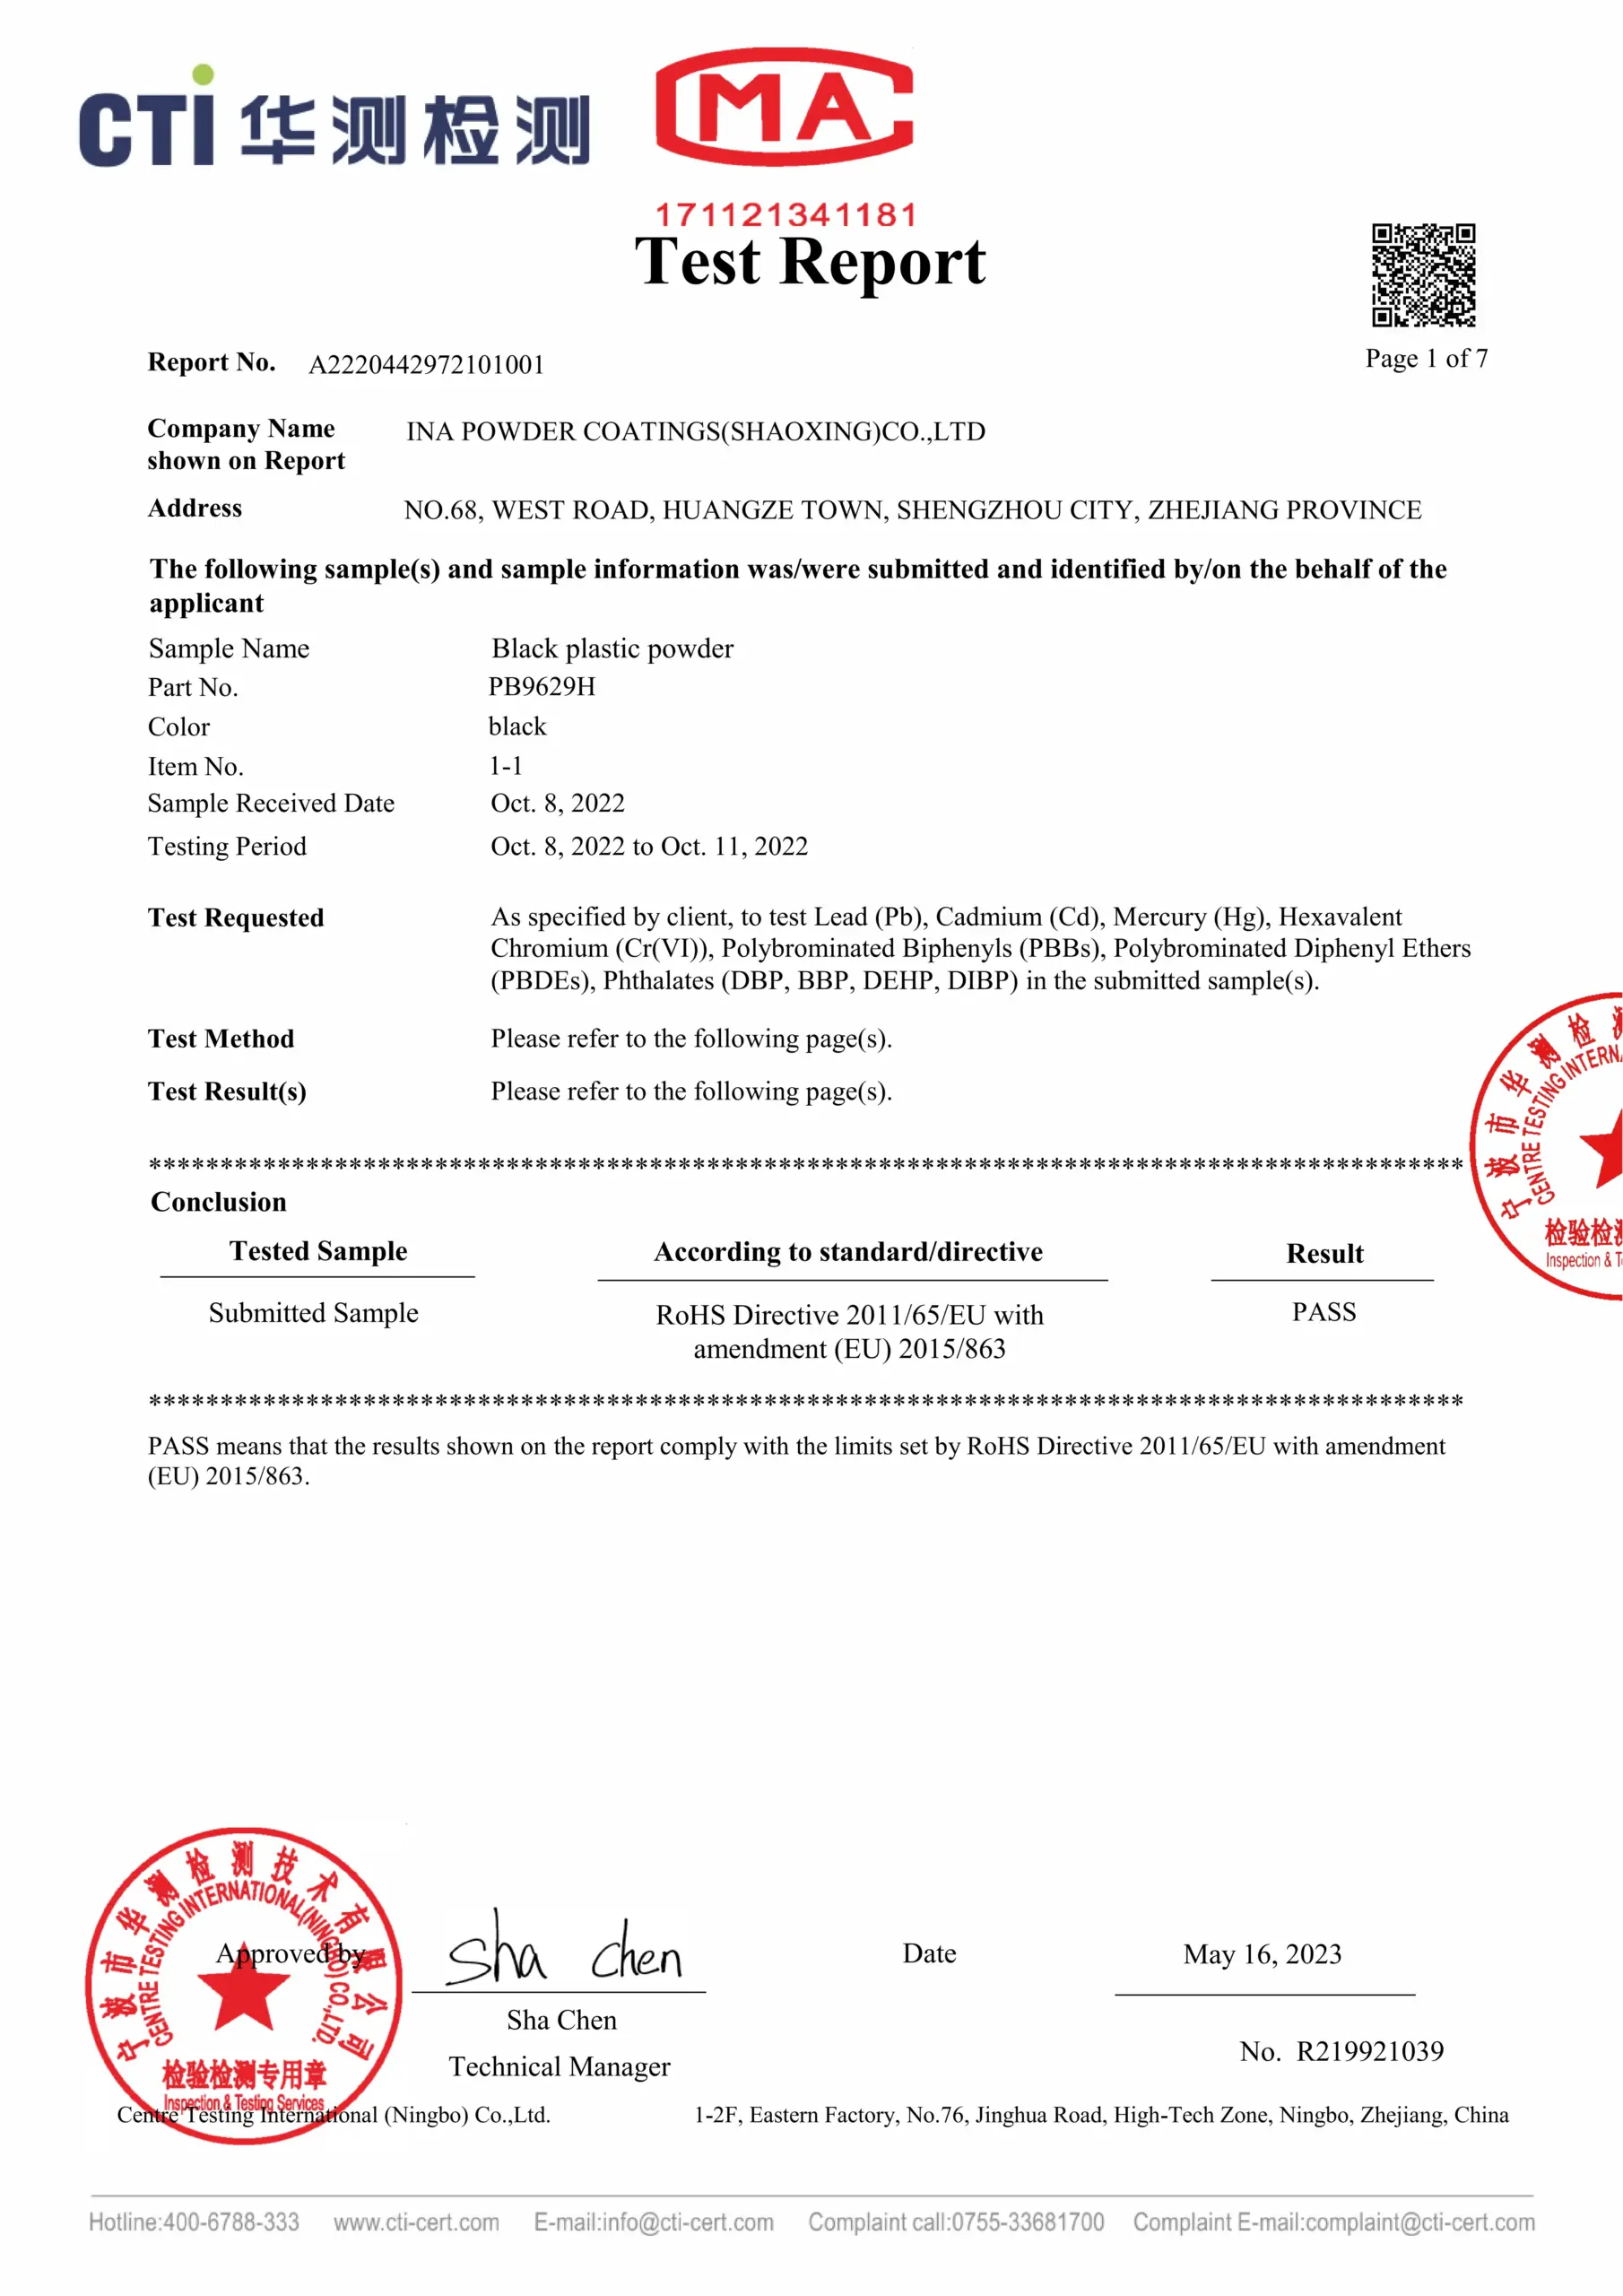
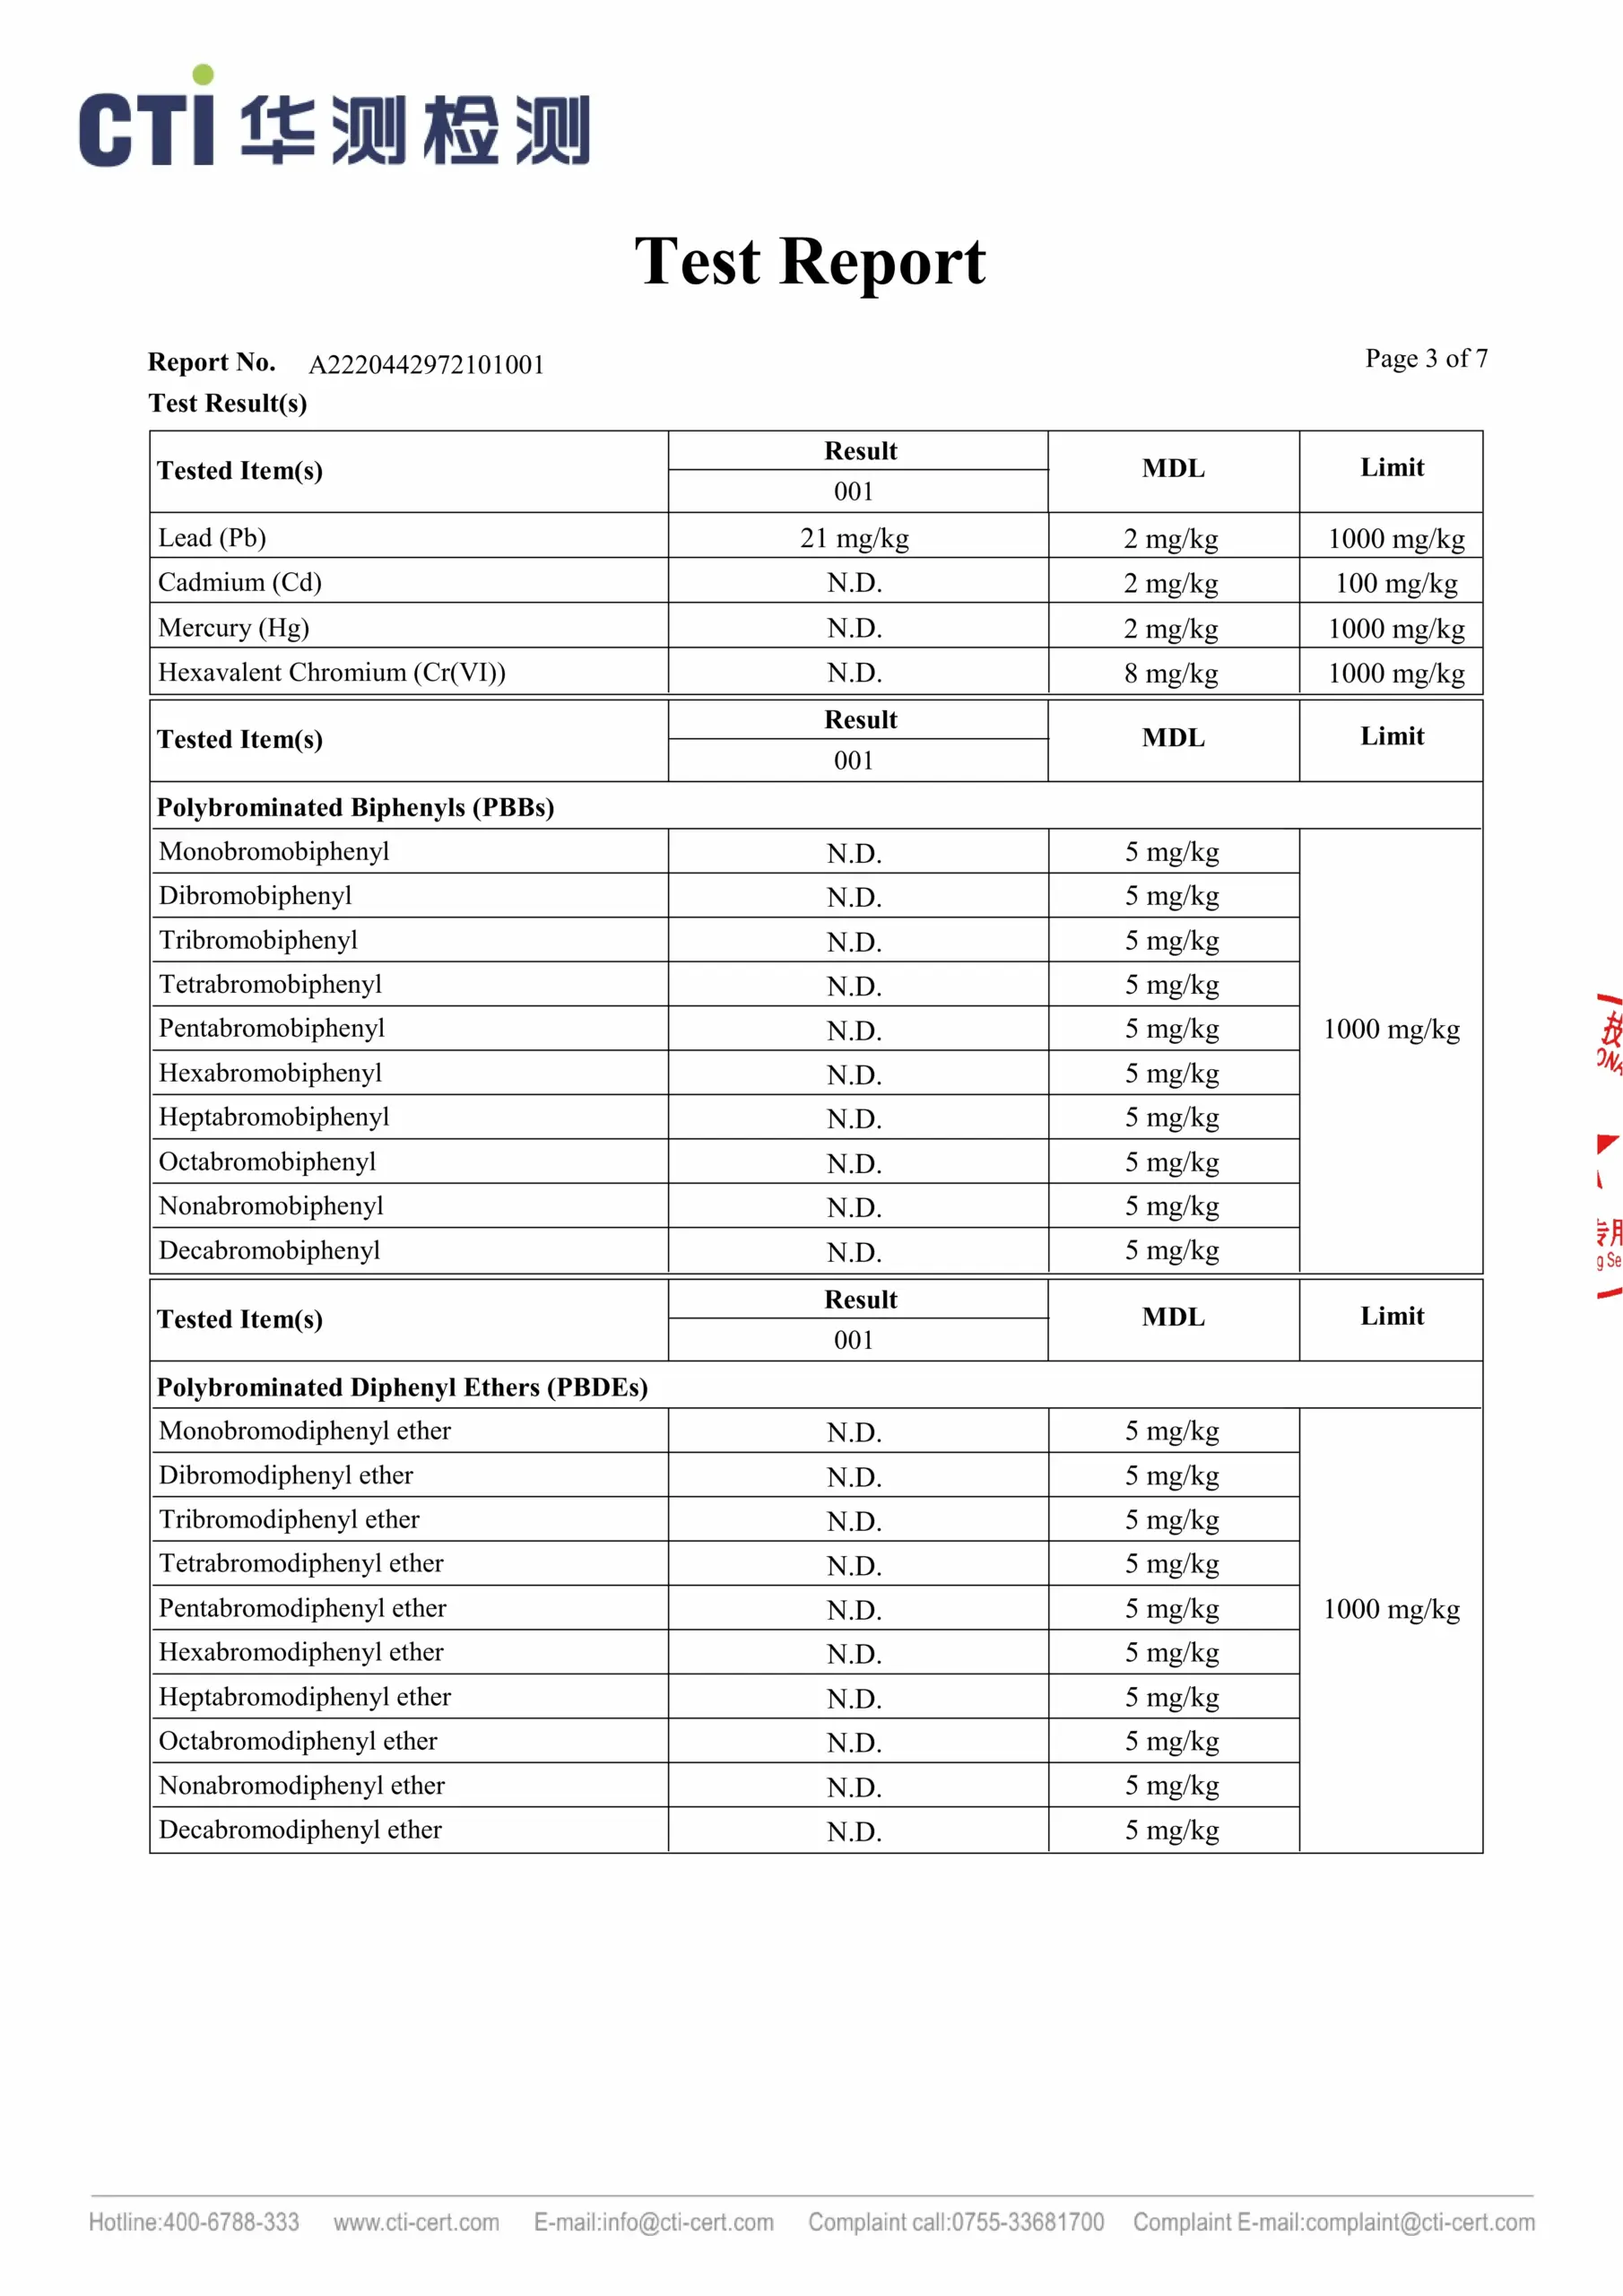
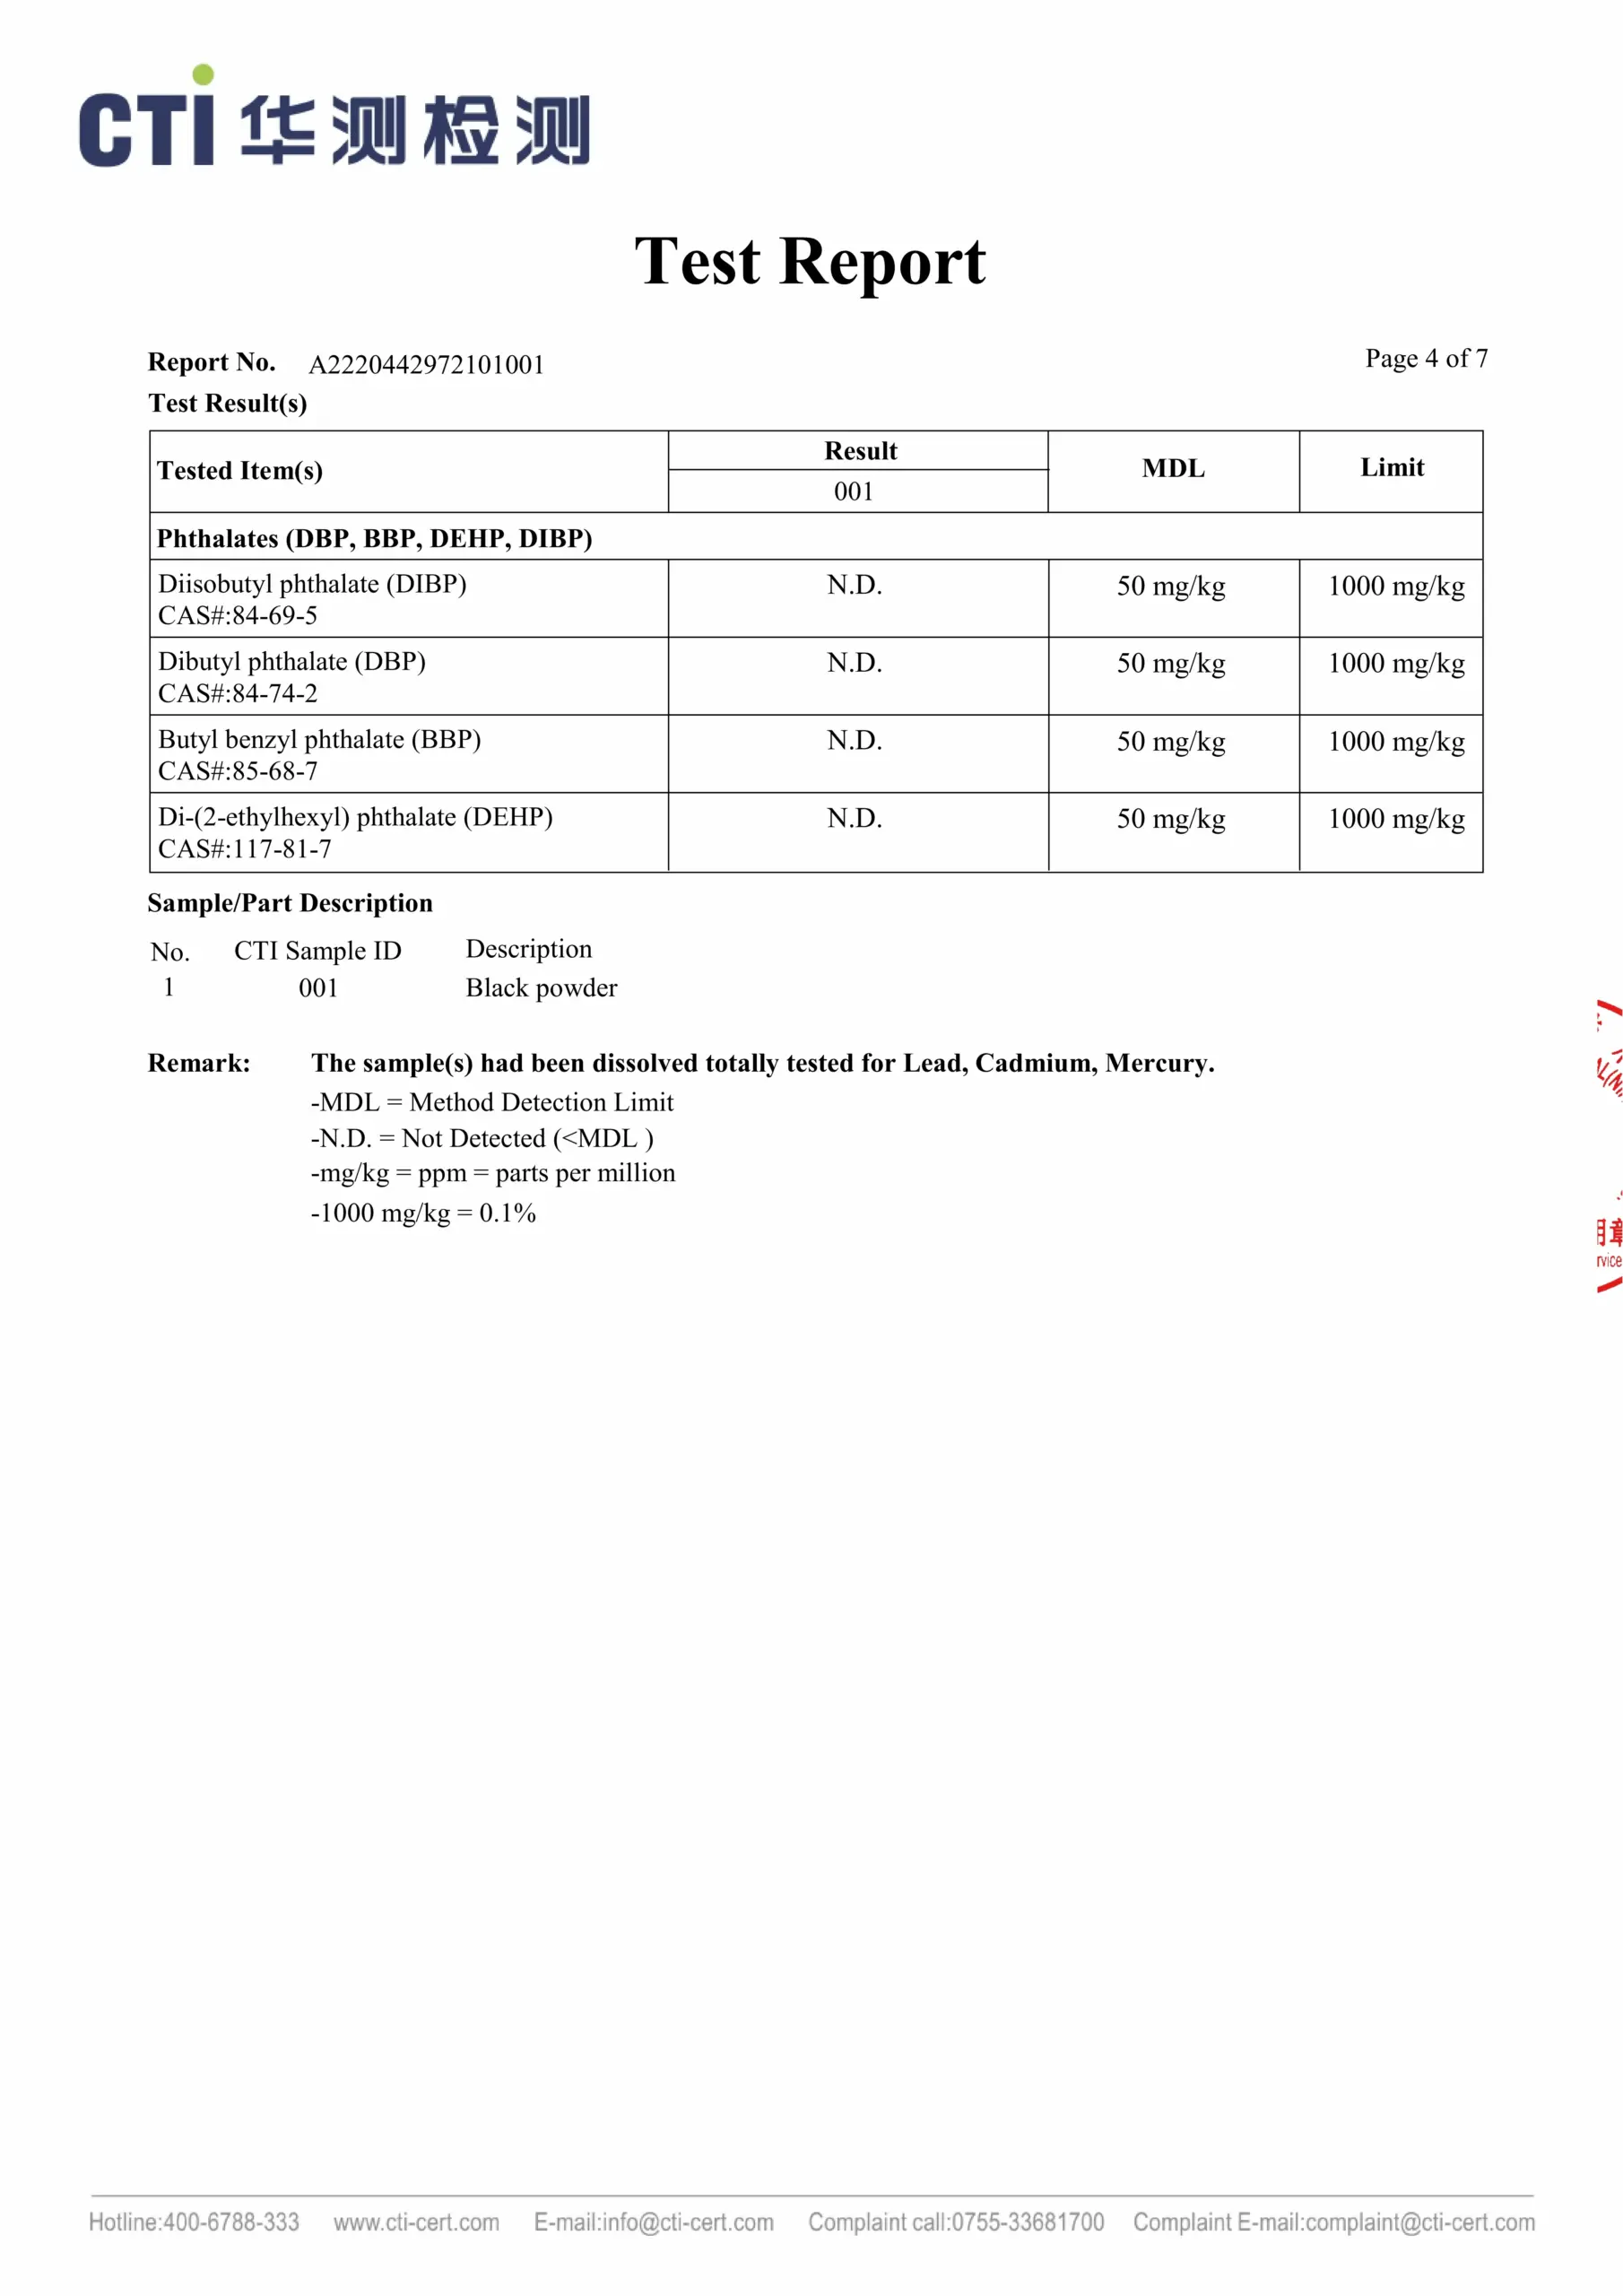
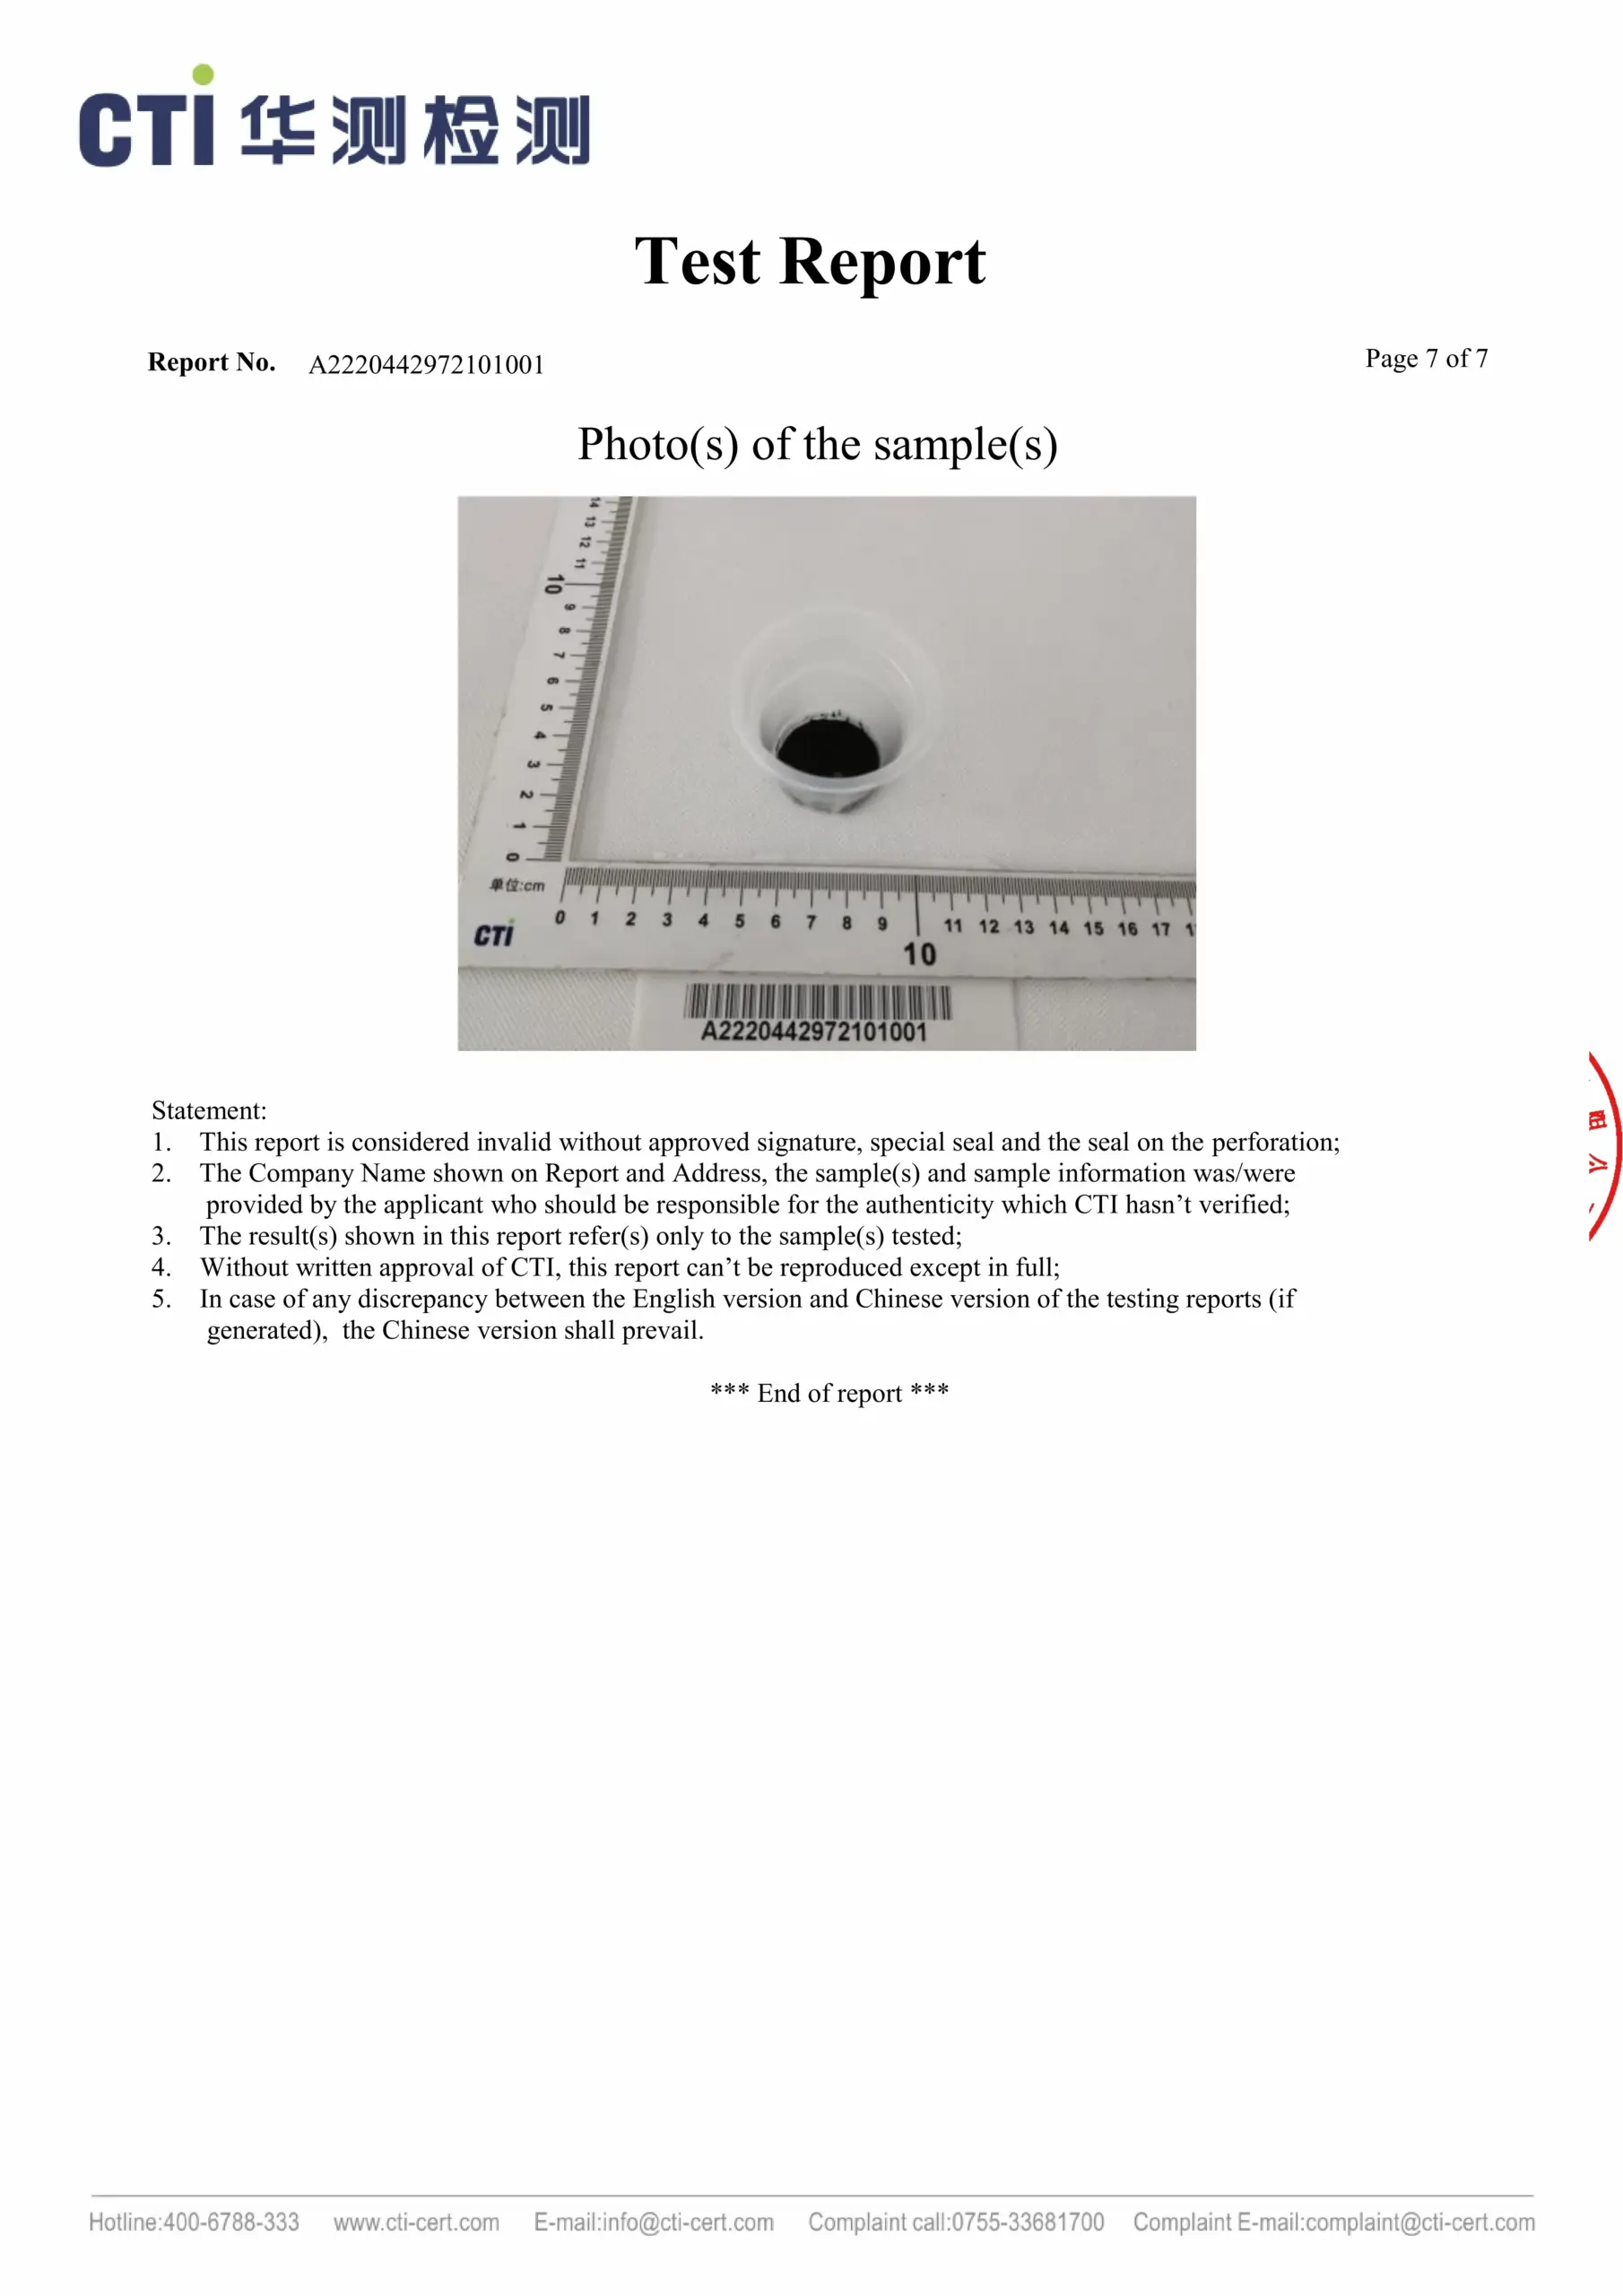
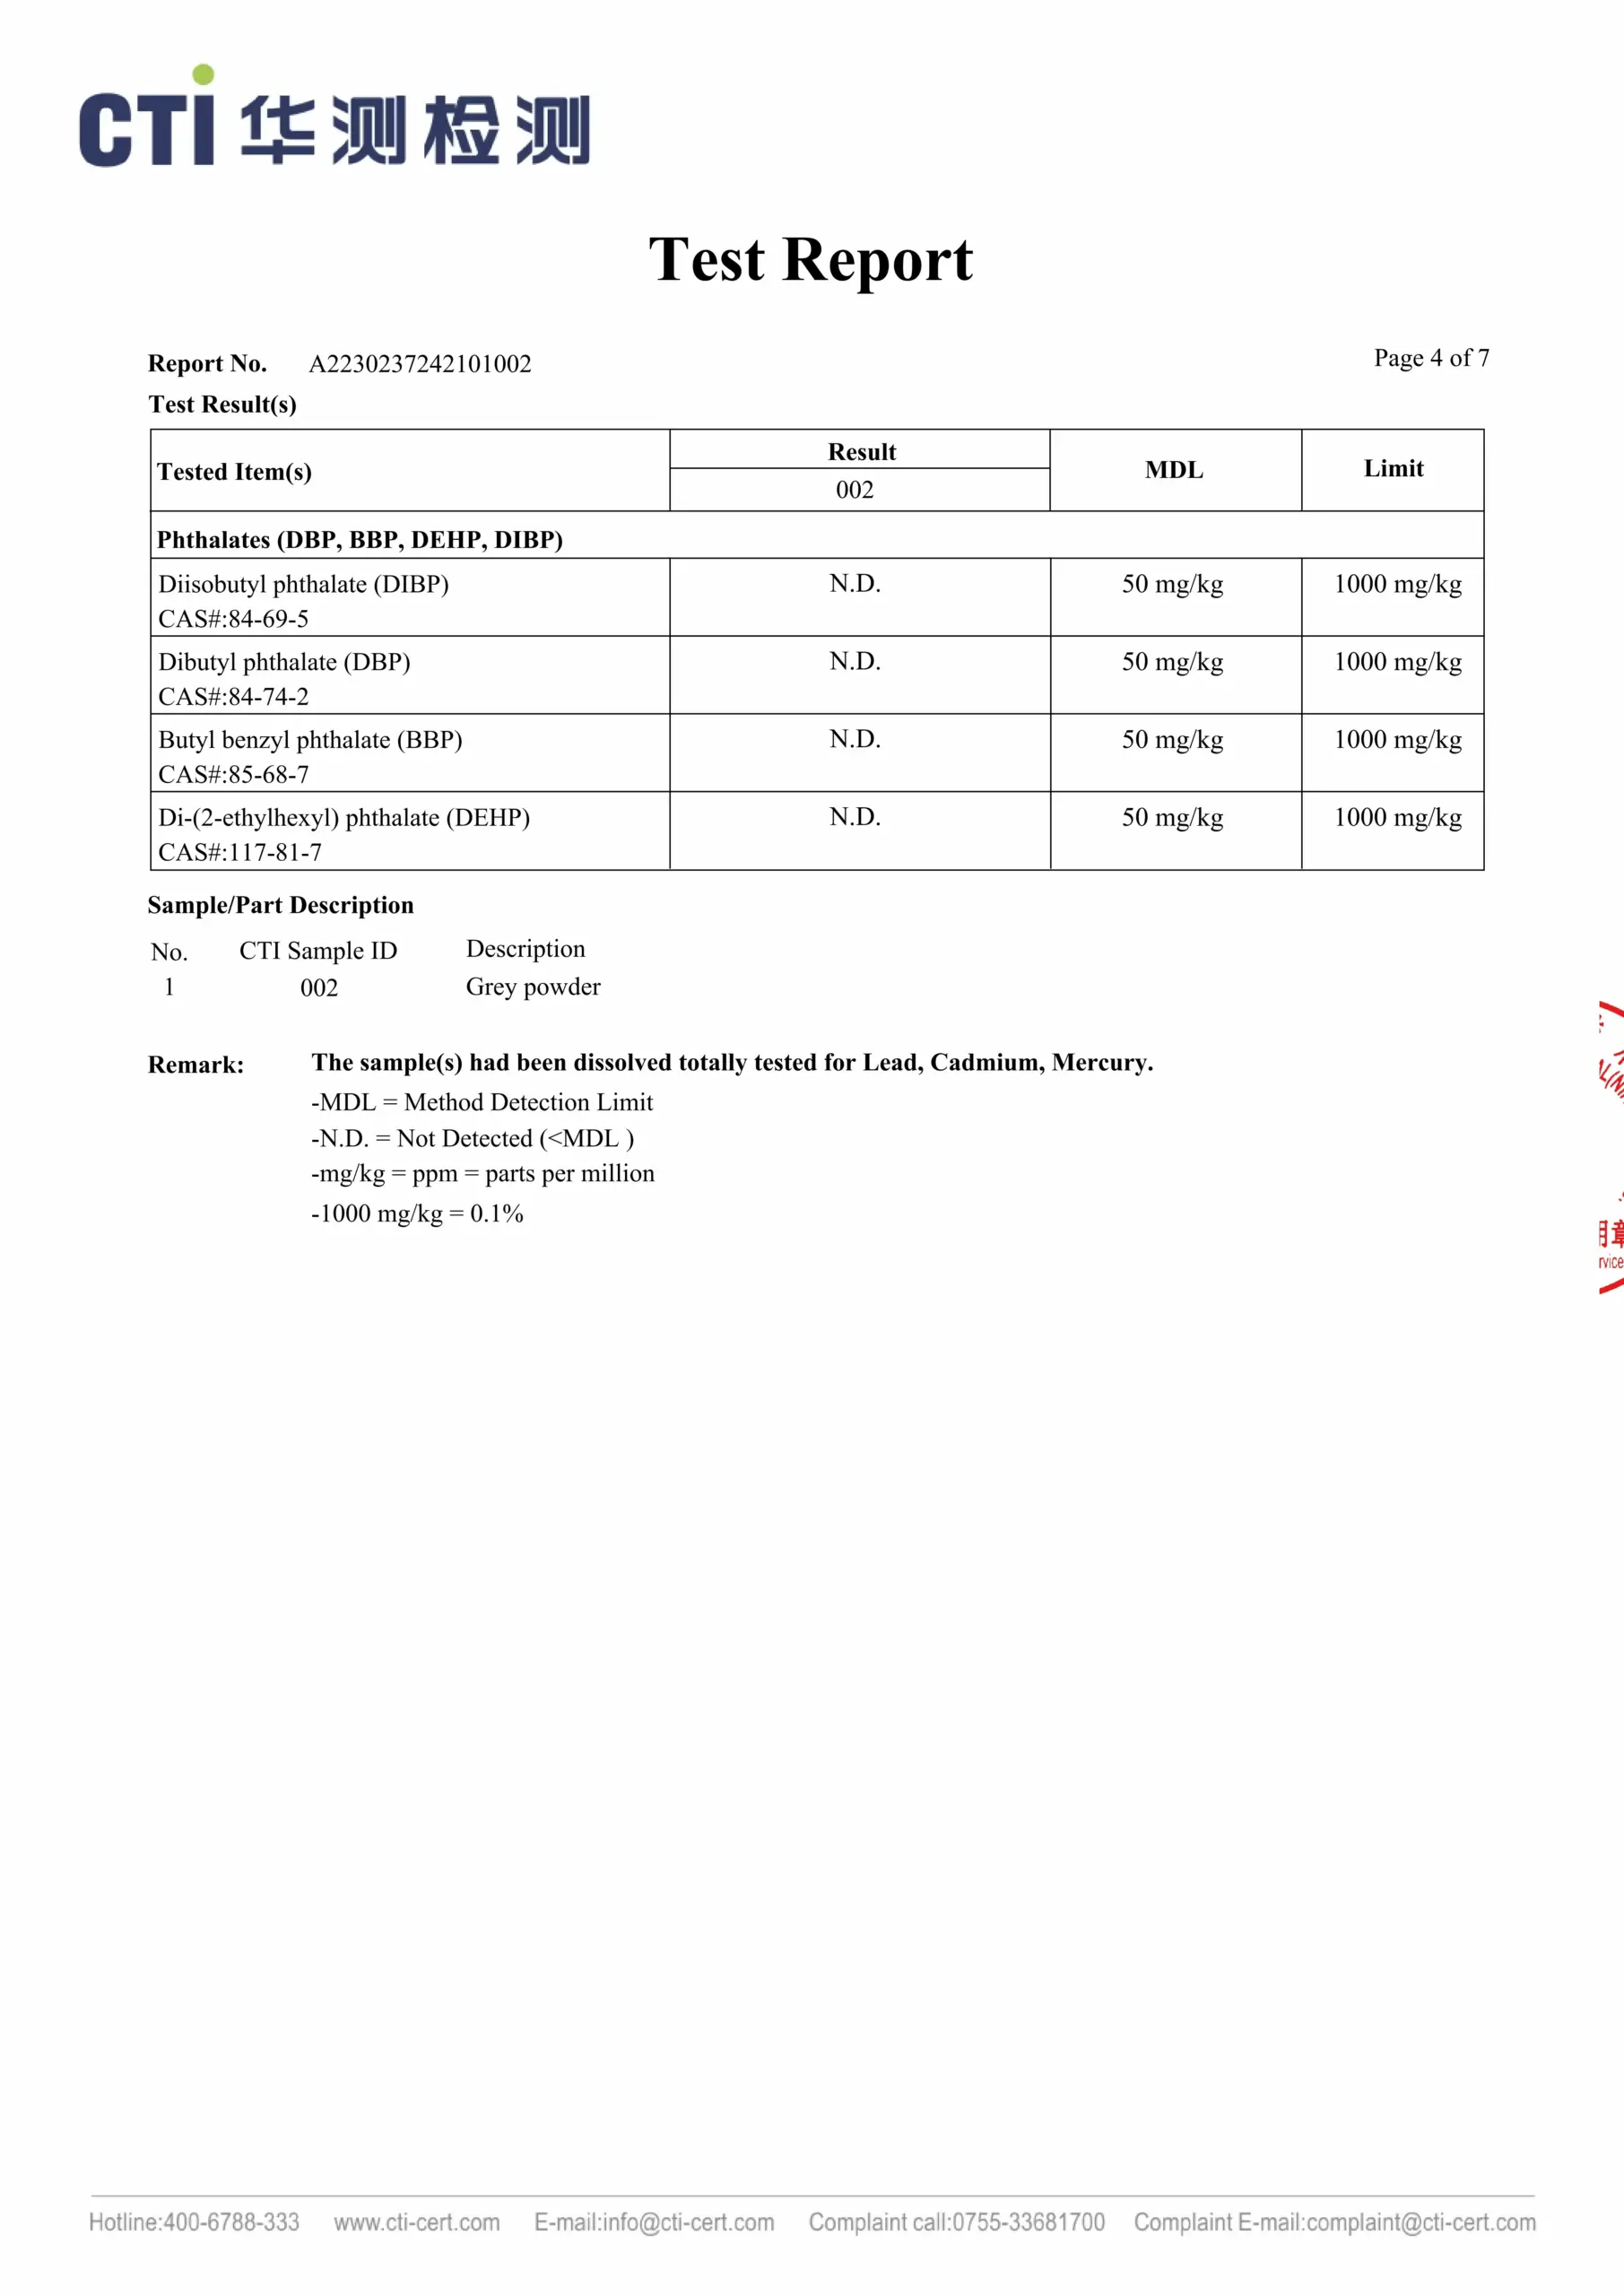
Each batch of raw materials should be accompanied by a factory inspection report, which contains detailed specifications, certification and test results, to verify the compliance and reliability.
Packaging Integrity
External packaging is carefully examined for any signs of damage to prevent material compromise during transit.
Label Accuracy
Labels are verified to be clear and accurate with all information properly presented and up to industry standards.
Internal Packaging Inspection
We also verify whether the internal packaging is safe and does not contain some contaminant and whether it can protect the materials in transit and storage.
02
Semi-Finished Product Inspection & Testing Process
We meticulously inspect all semi-finished products to ensure they meet strict quality standards, focusing on appearance, dimensions, and performance before they proceed to final assembly.
01
Motor Inspection
02
Cable & Cord Check
03
Transmission Inspection
04
Screw Inspection
05
Powder Coating Check
06
Color Inspection
07
Control Unit Inspection
08
Packaging Inspection
Motor Inspection
The motor undergoes a detailed inspection, where its appearance is checked for any foreign debris, and its dimensions are measured against technical specifications. Performance testing includes verifying current, voltage, speed, and noise levels, with noise capped at 35dB.
Wiring and Power Cord Inspection
The wiring and power cords are inspected for surface dents, scratches, or cuts, while their dimensions are verified against technical specifications. Additionally, power-on testing is conducted to ensure proper functionality and overall safety.
Transmission Assembly Inspection
The transmission assembly, including lead screws, aluminum tubes, plastic parts, and sliders, undergoes a thorough inspection. Each component is checked for appearance, dimensions are verified against specifications, and trial assembly is performed to ensure proper fit and functionality.
Screw Inspection
Screws are inspected for rust, color variation, and thread clarity, with dimensions verified against technical specifications. Thread quality is checked using gauges, and strength is tested with a torque wrench to ensure they meet the required 8.8 grade standard.
Powder-Coated Metal Parts Inspection
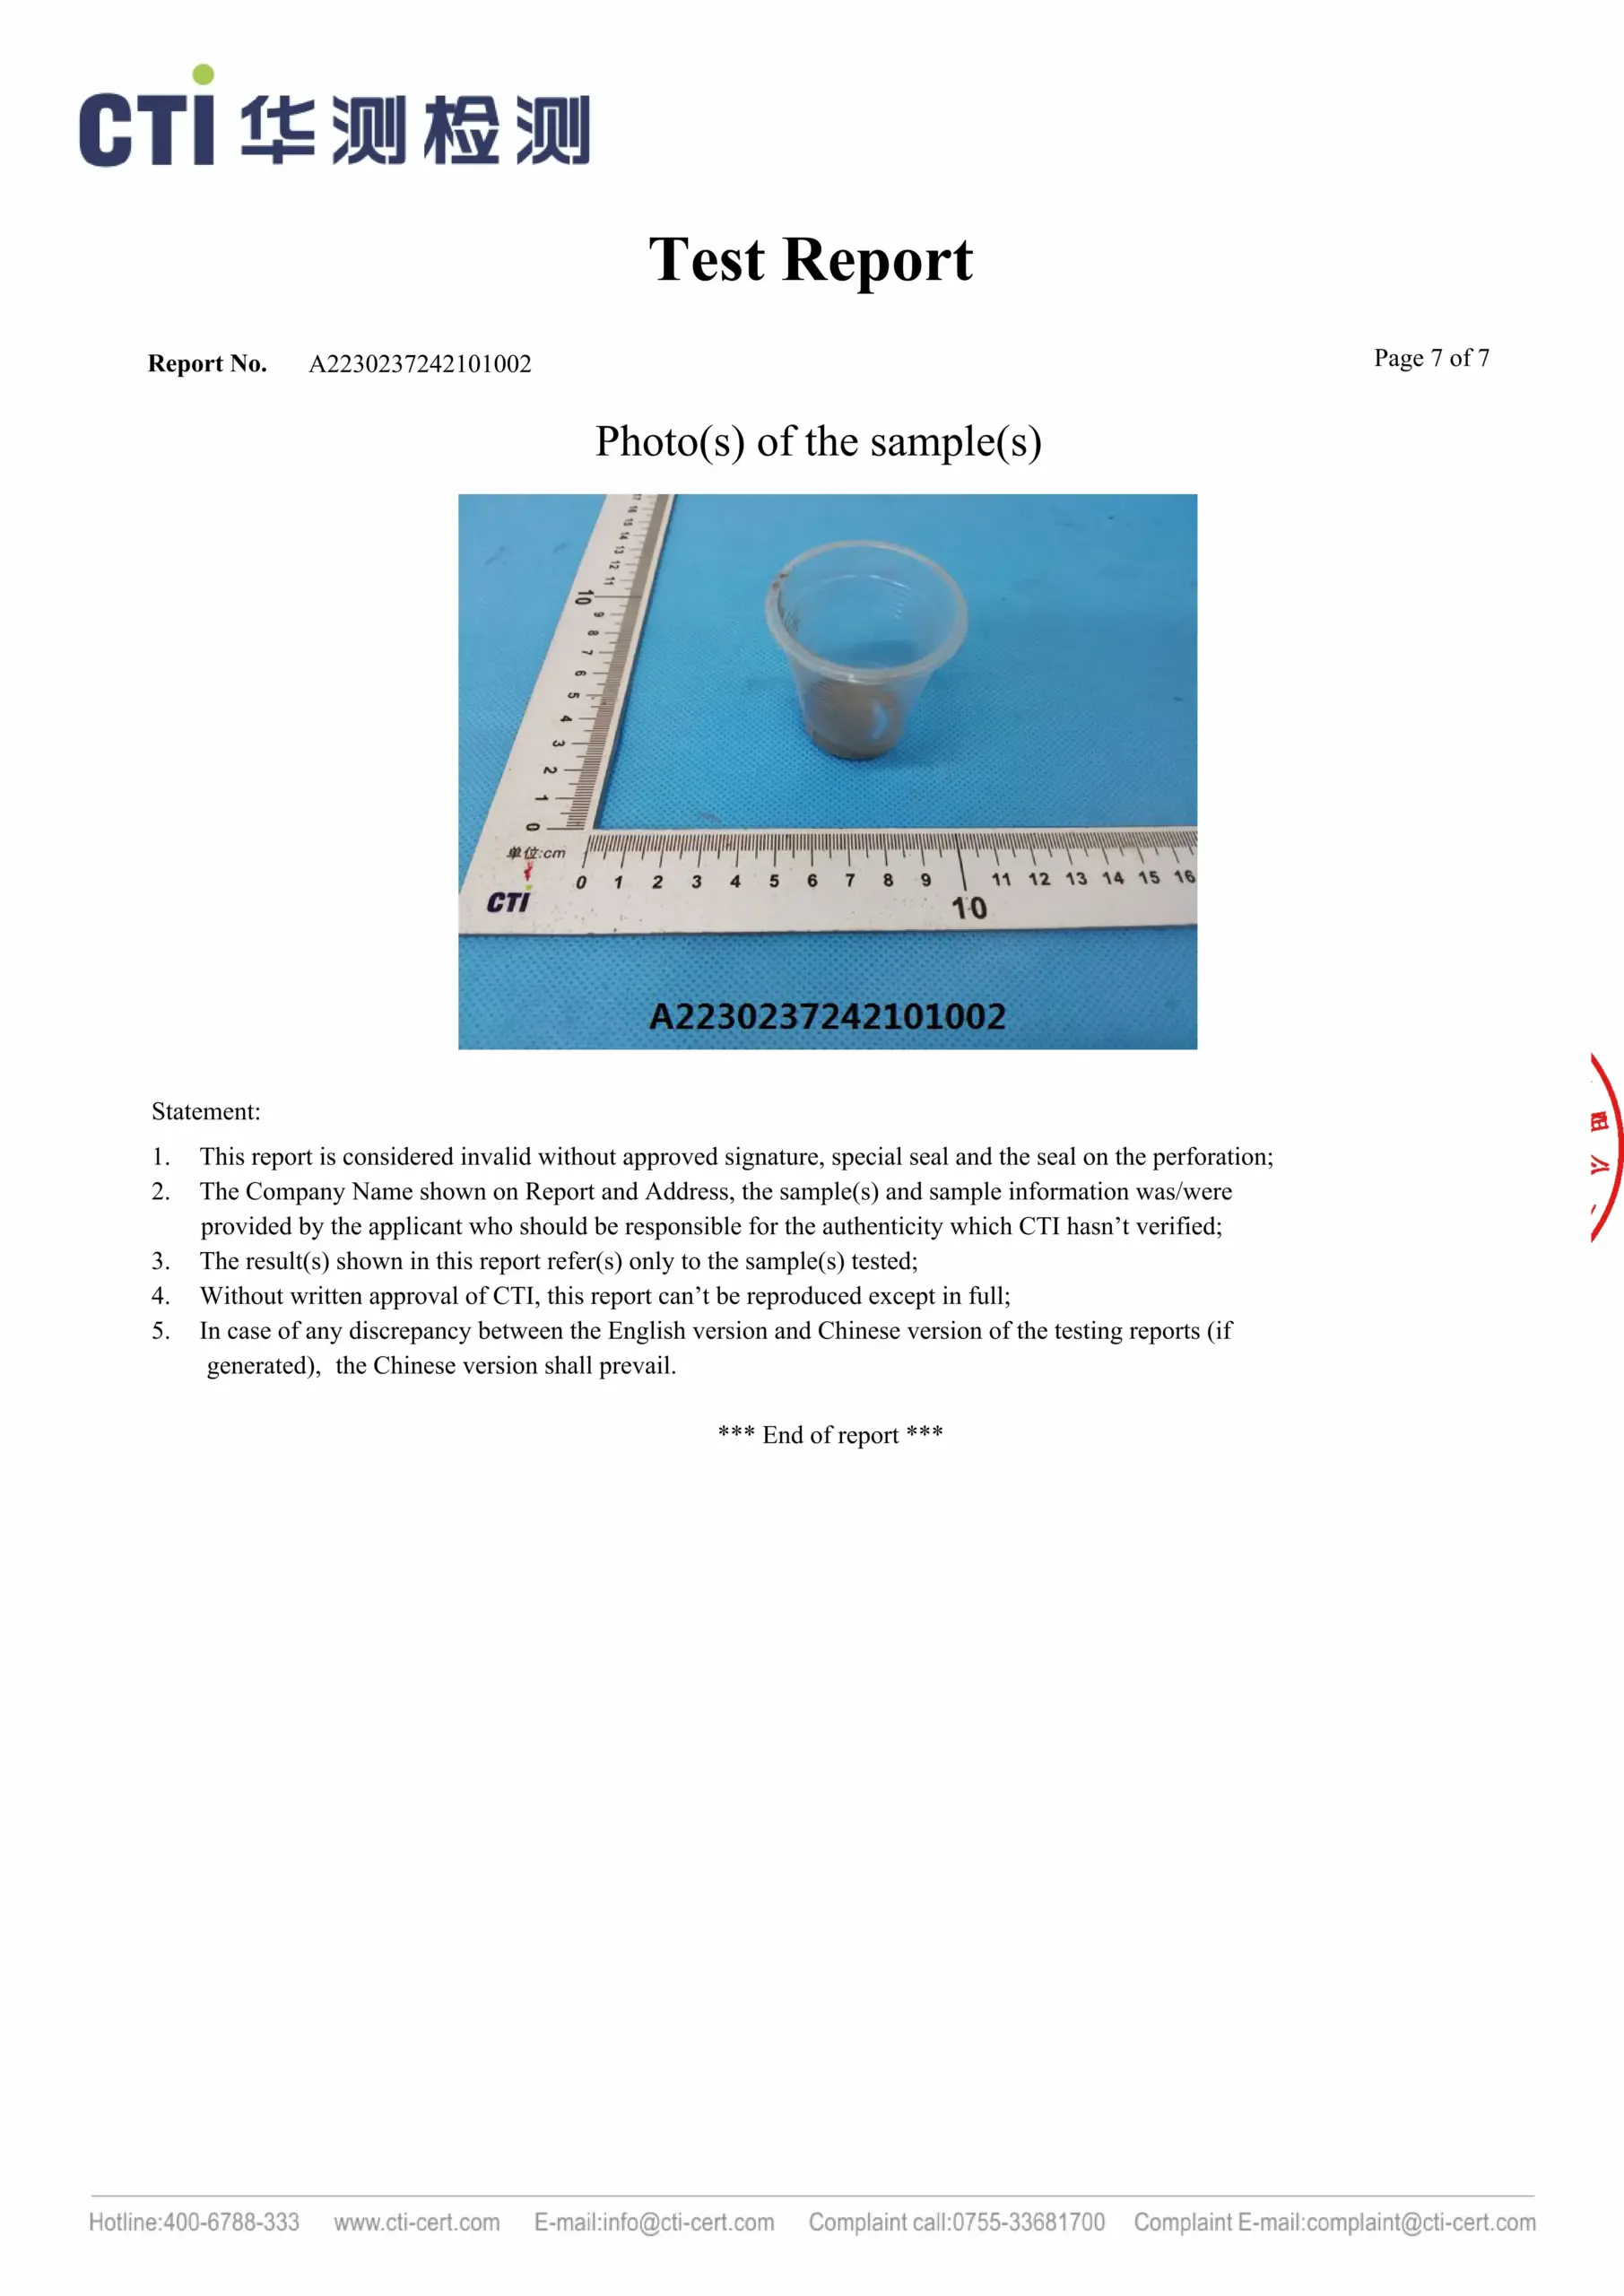
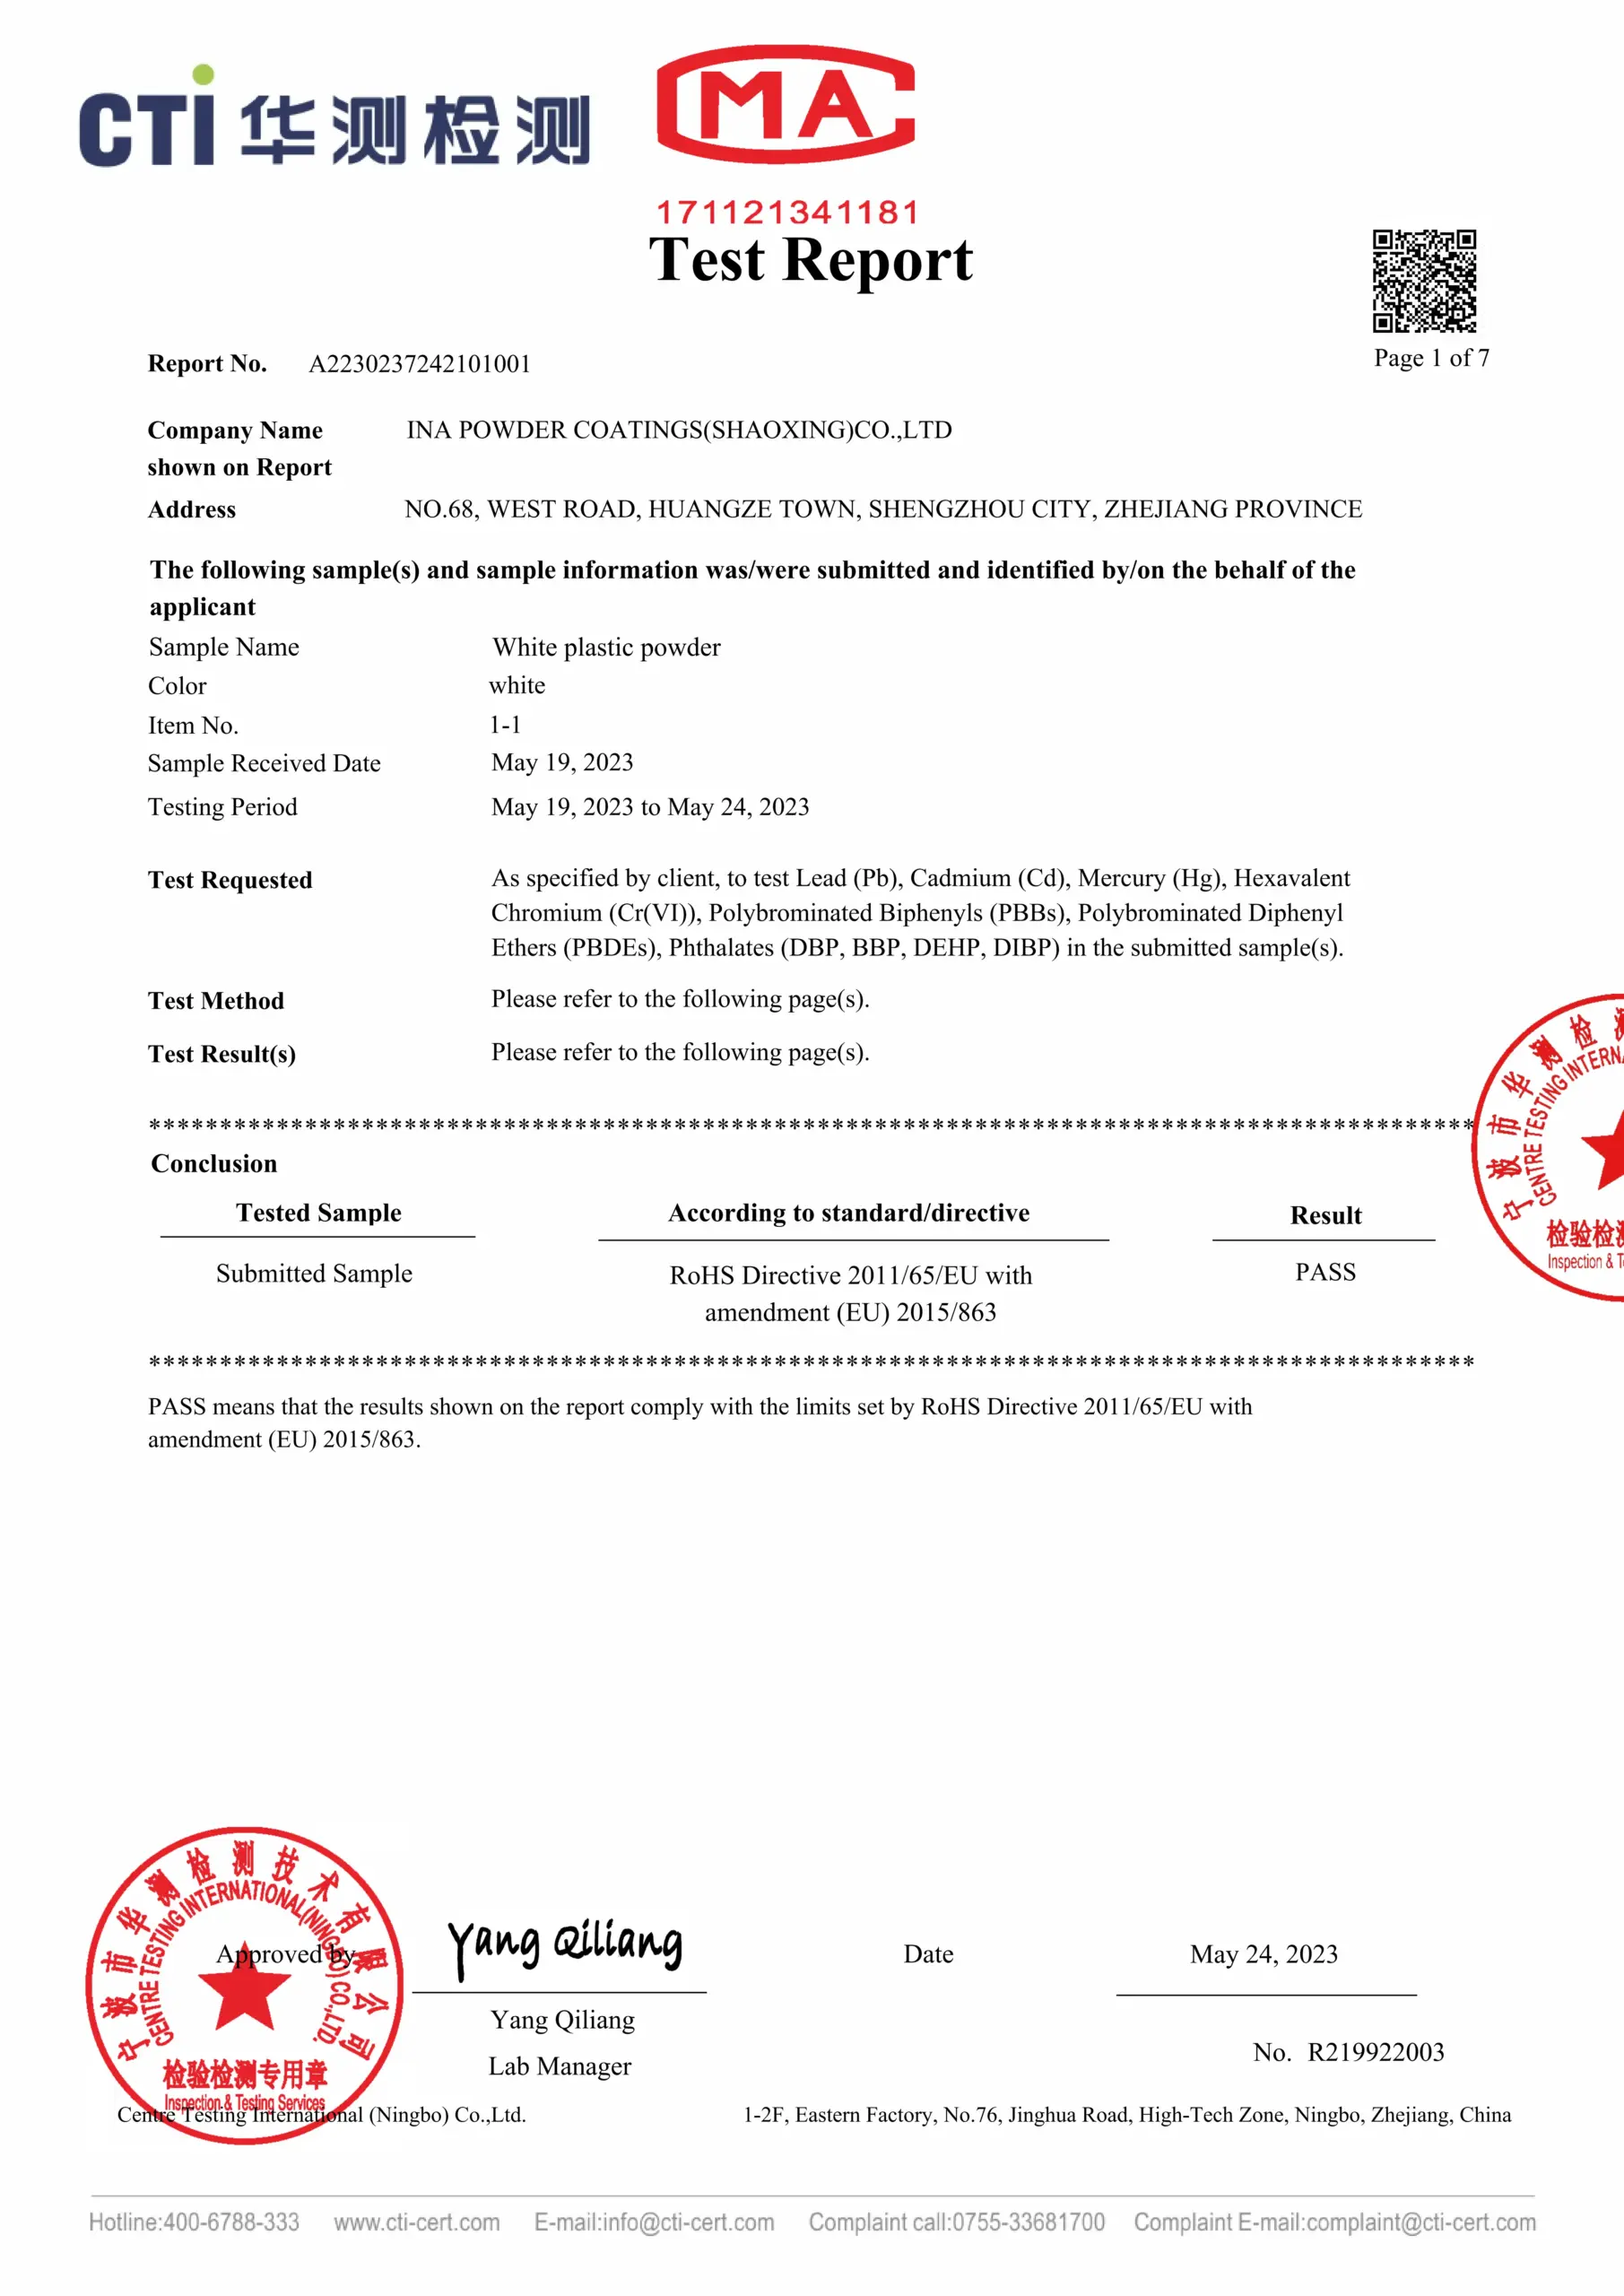
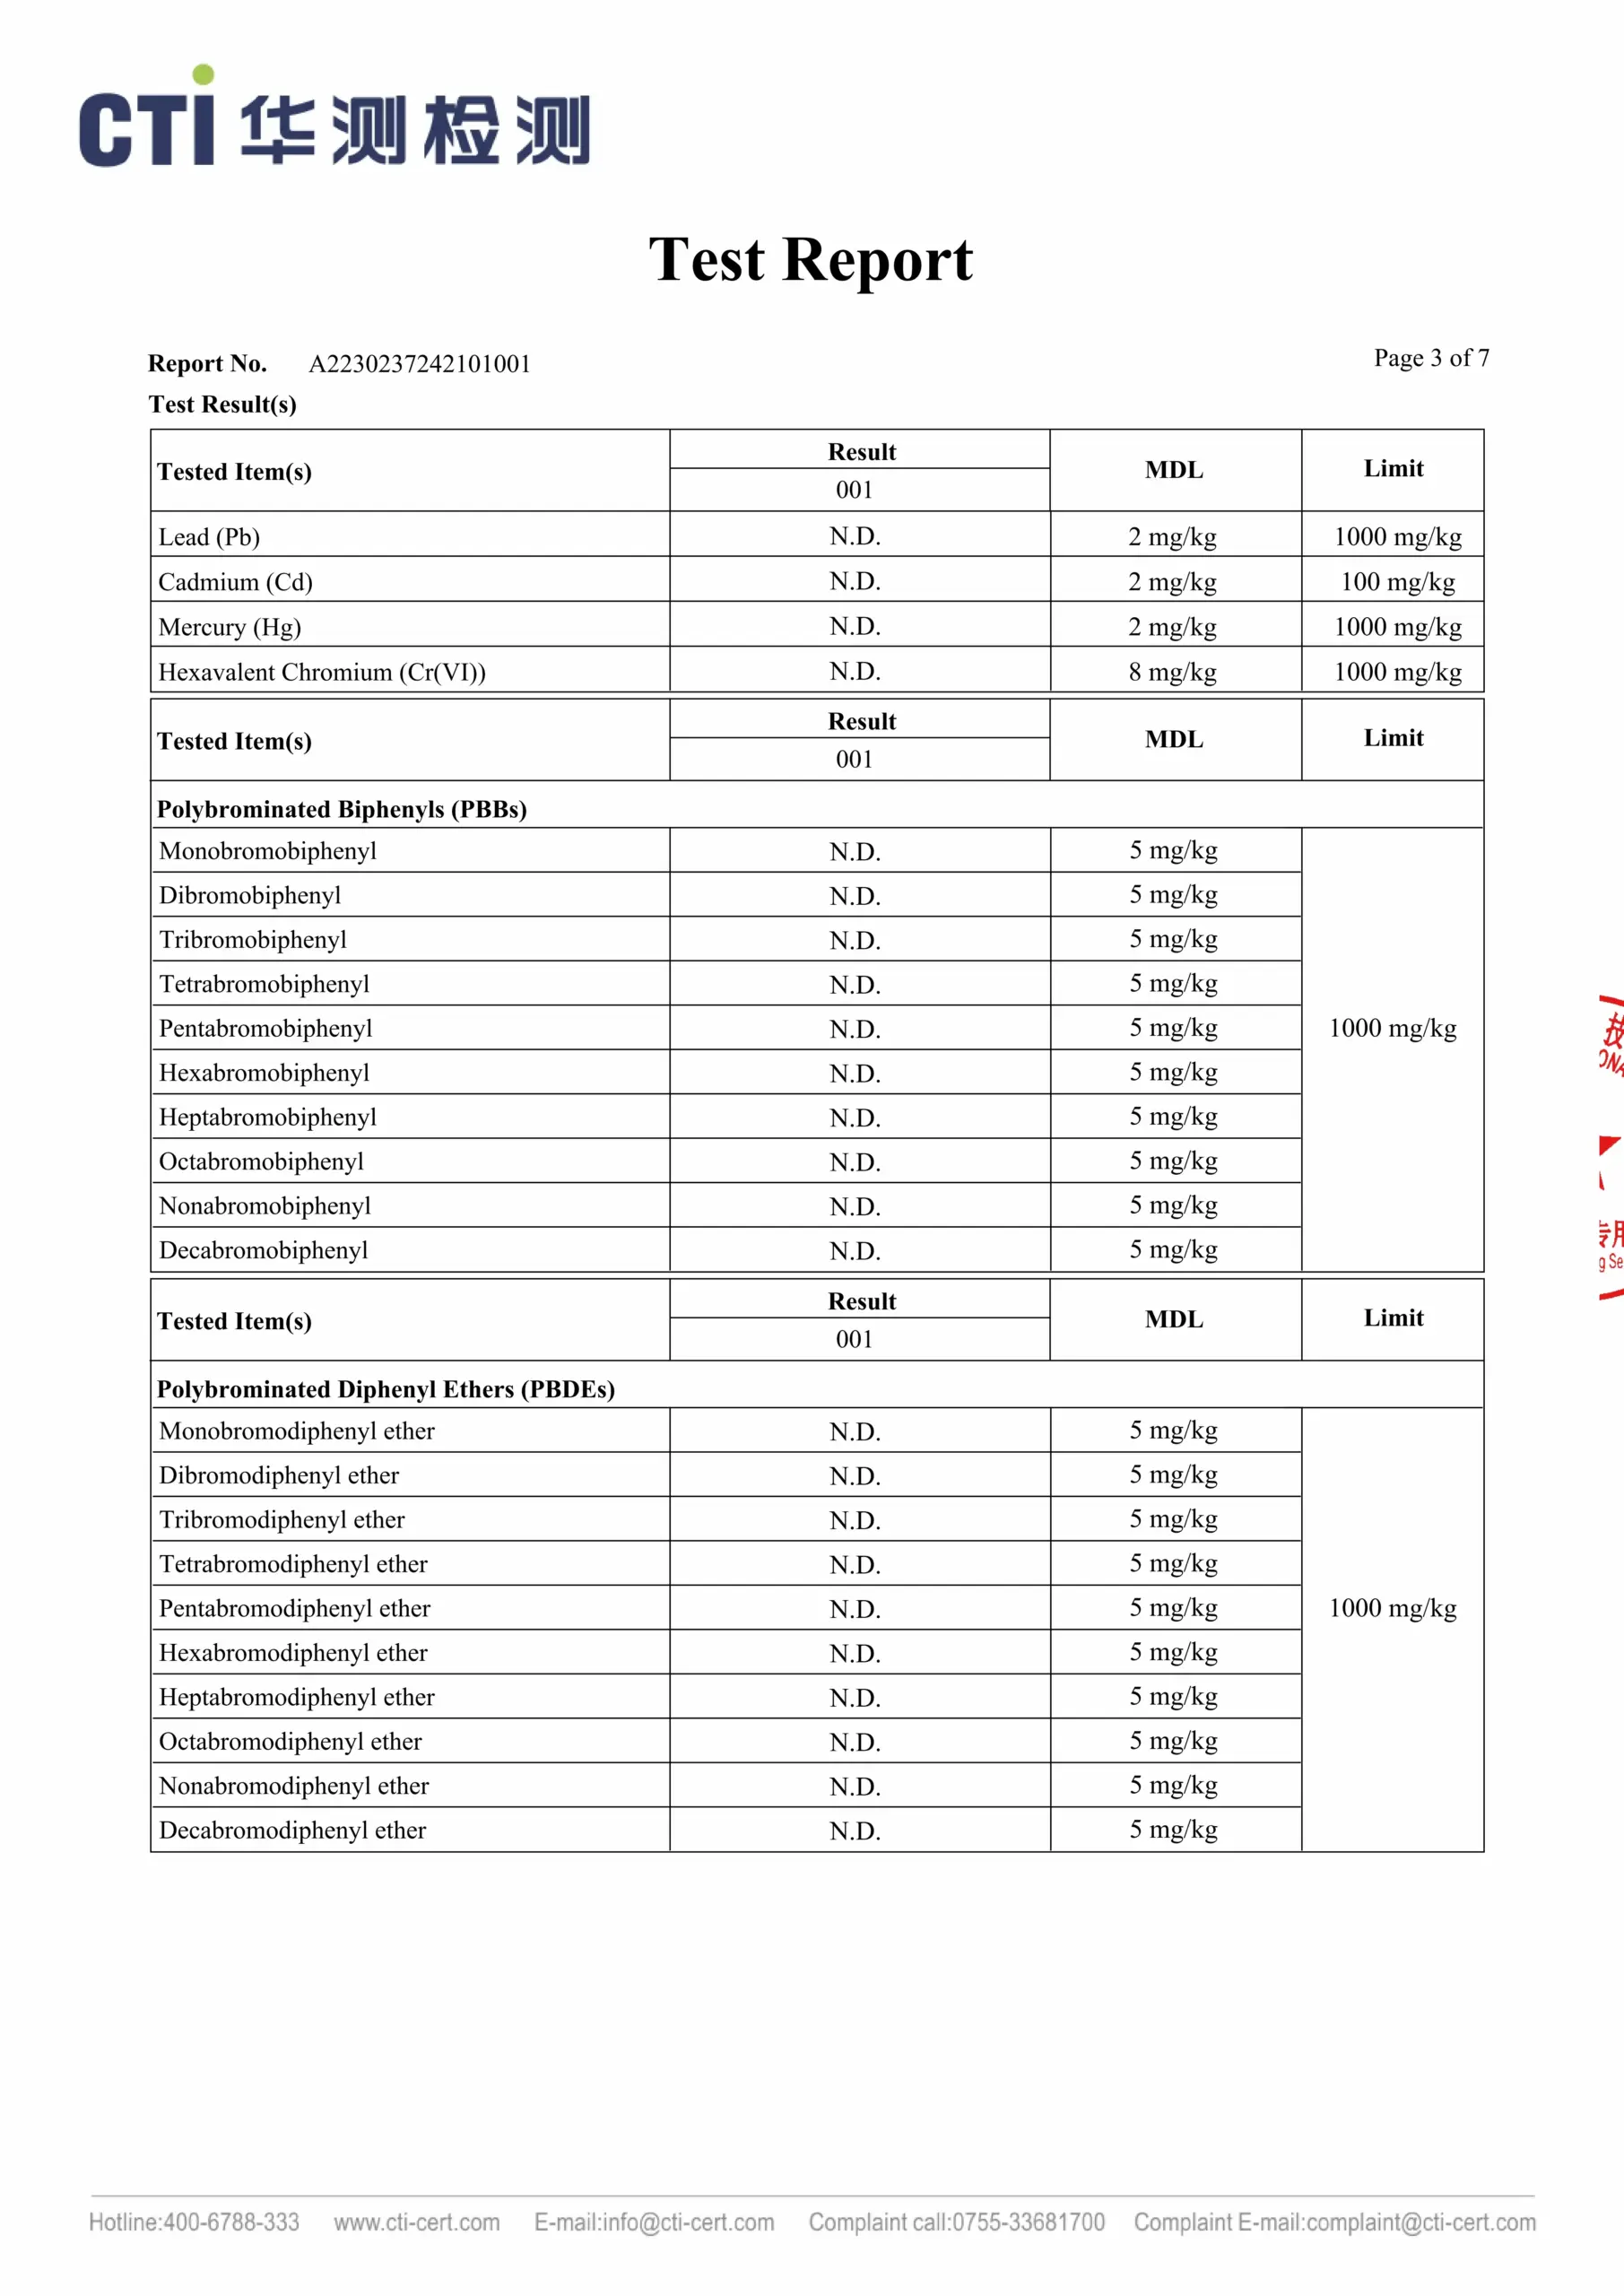
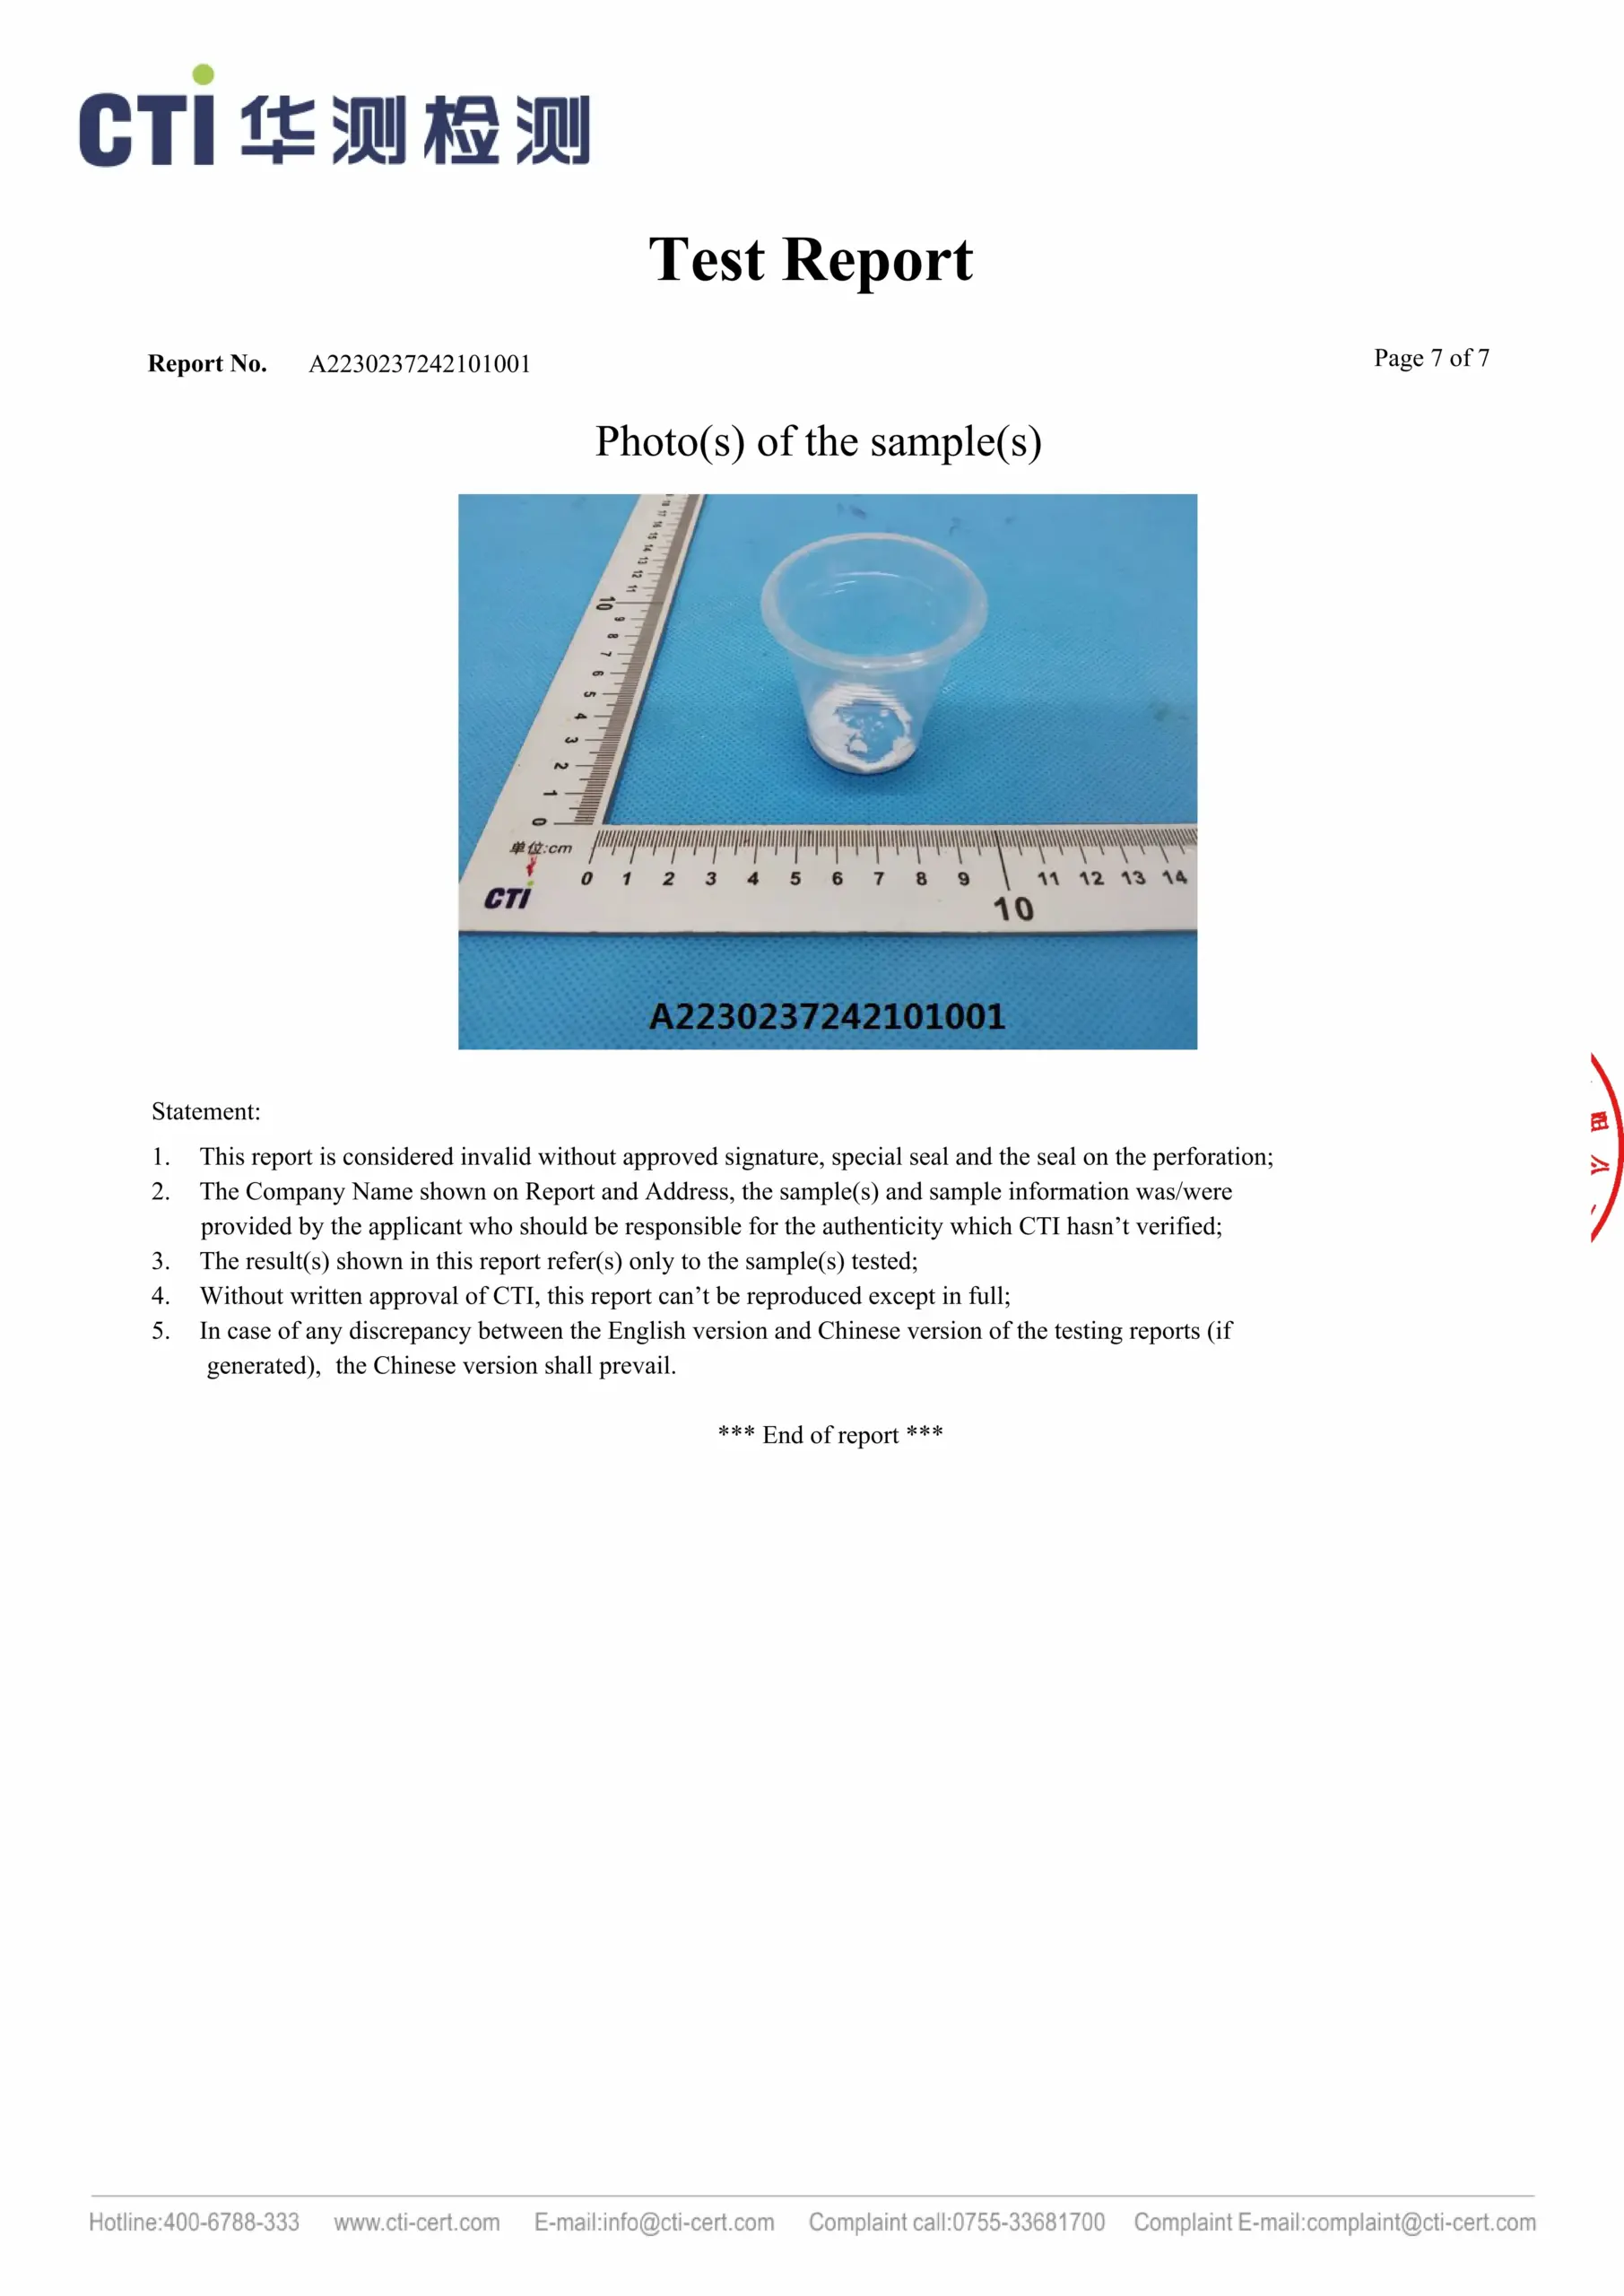
All powder-coated parts undergo inspection for coating uniformity and defect checks, such as scratches or bubbles. The coating thickness is measured, and parts are securely packaged in cloth bags and iron frames to prevent transport damage.
Color Inspection
Each column tube is inspected under bright indoor lighting to ensure smooth, uniform coating. For custom color orders, every batch is compared with your original sample to guarantee precise color match and consistent surface quality.
Controller & Hand Control Inspection
Controllers and hand controls undergo dimension verification and functionality tests to ensure proper performance. Circuit boards are checked for accuracy, and all components are assembled to guarantee a secure fit.
Packaging Inspection
We inspect packaging for cleanliness, proper labeling, and accurate dimensions to ensure secure protection and prevent damage during transit.
03
100% Inspection at Every Stage of Finished Product Testing
Our comprehensive finished product inspection process is broken down into four key stages. Each stage ensures that all critical components and the final standing desks meet the highest quality standards before they are shipped.
Initial Inspection
The initial inspection ensures that all raw materials and components meet strict quality standards before production starts, preventing defects and ensuring the smooth flow of the manufacturing process.
Lift Columns
Inspected for coating quality, dimensional accuracy, and structural integrity. Functional tests include lifting speed measurement, load performance under both unloaded and loaded conditions, and noise inspection to detect any abnormal sounds.
Metal Parts
All other metal parts are inspected for coating quality, dimensional precision, and manufacturing craftsmanship according to engineering drawings, verifying welding type (full or spot weld), edge finish, and threaded hole accuracy.
Control System
Hand controls and controllers are inspected against order drawings and specifications to ensure correct models and dimensions. Surfaces must be free of scratches, burrs, or defects, and all housings fit tightly with no gaps or missing screws.
Wires and Power Cords
Verified for dimensions, material consistency, and surface integrity, ensuring there are no cuts, cracks, or insulation defects. Each batch also undergoes power-on testing to confirm stable current flow and safety compliance.
Assembly Inspection
We also assemble sample sets into full desk frames to check alignment, screw positioning, and overall fit, ensuring every part installs smoothly.
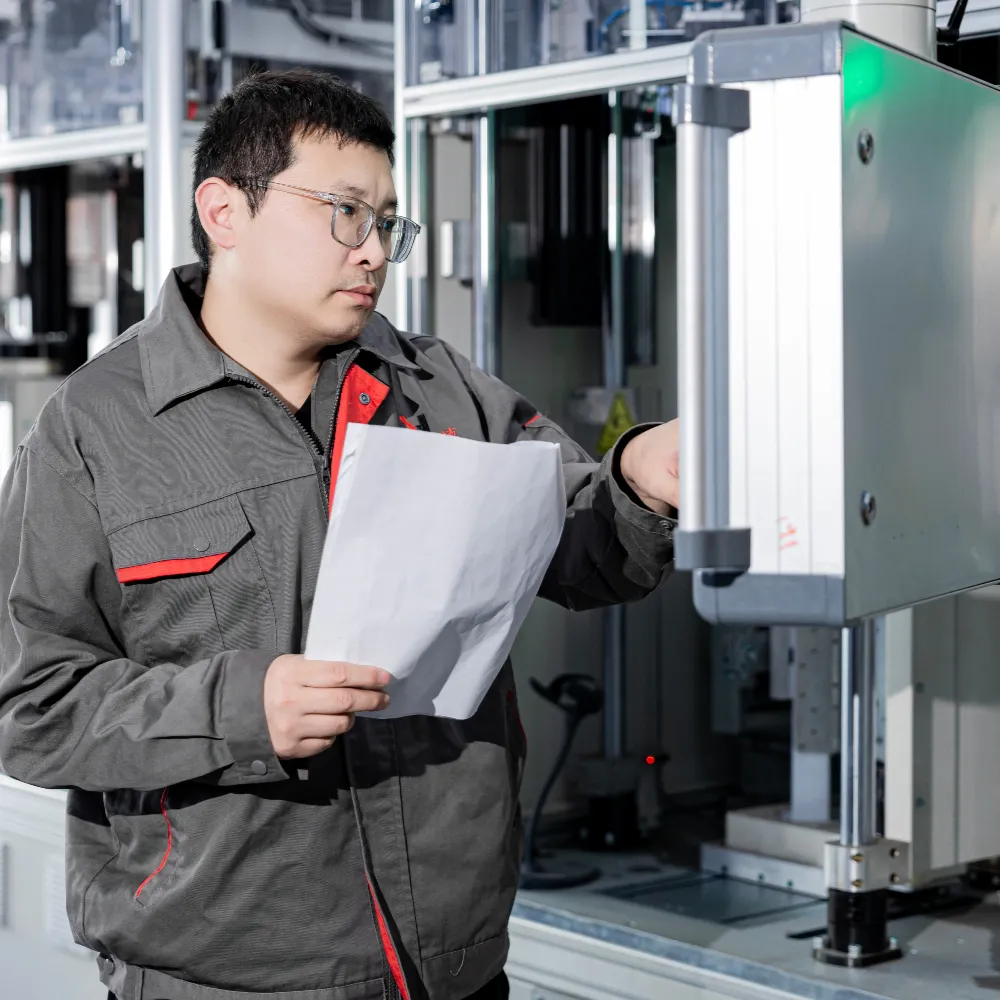
In-Process Inspection
In-process inspection focuses on monitoring the ongoing production process, ensuring mass production runs smoothly to secure on-time delivery.
Lift Columns
We supervise the assembly of lift columns to ensure workers follow standardized procedures and professional techniques, guaranteeing consistent quality, correct alignment, and uniform performance across all production batches.
Control Systems
Ensure all wiring and hand controllers are properly connected and functioning according to specifications.
Other Components
Check that all parts, including metal components, are compatible and correctly assembled.
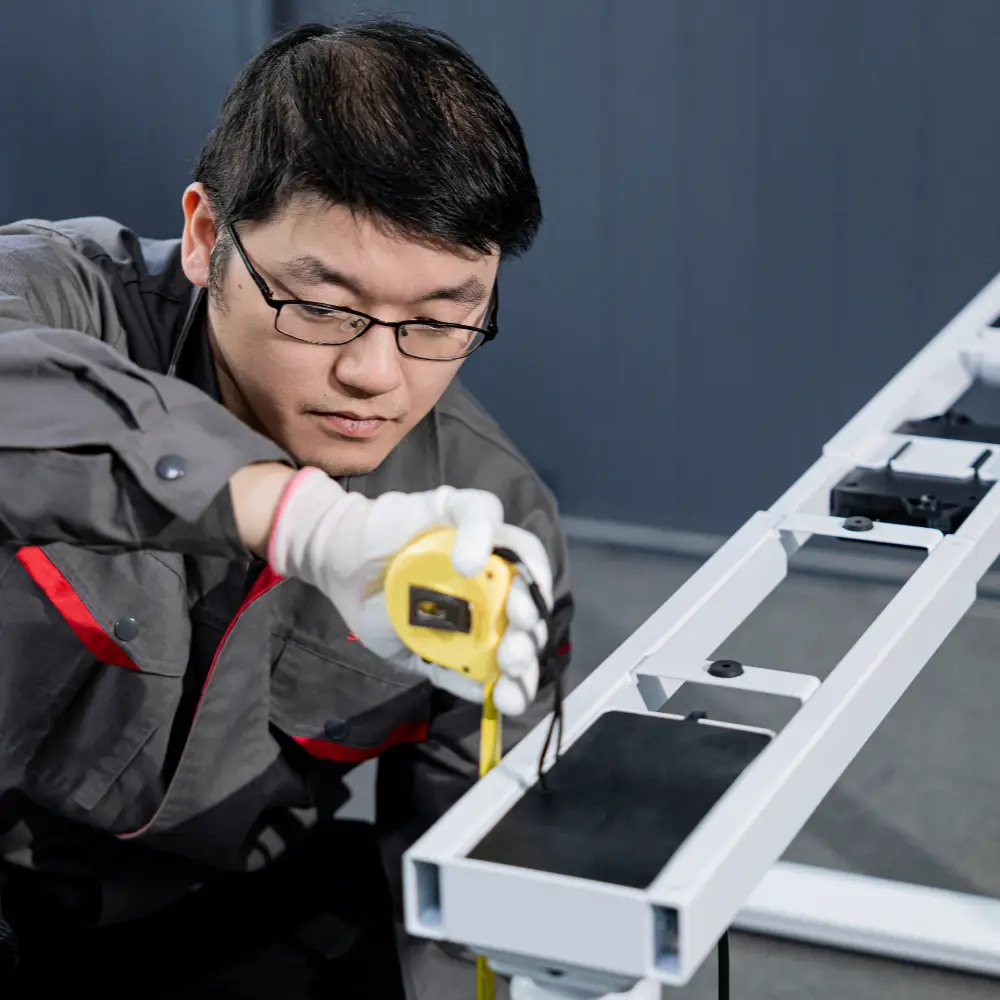
Pre-Packaging Inspection
Before packaging, we conduct 100% inspection on all finished products, including functional and appearance tests, to ensure every desk frame operates smoothly, looks flawless, and fully meets quality standards before shipment.
Columns & Control Systems
Confirm that columns, motors, and controllers fit properly, and perform functional tests like load handling, speed, and noise levels to ensure they meet specified criteria.
Appearance Check
Ensure the product is free from scratches, dents, or any visible defects.
Program Testing
Verify that the control system works properly, including reset functions, load tests, and height adjustments.
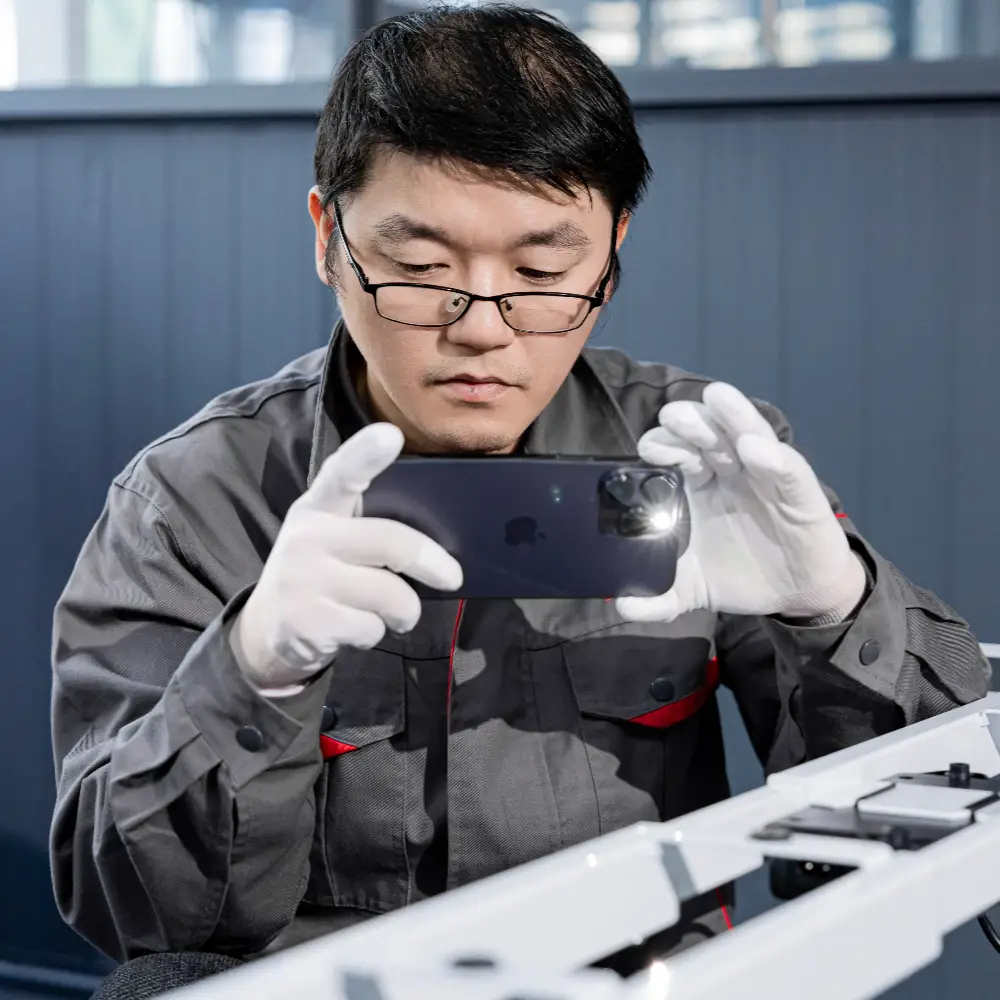
Final Inspection (OQC)
We have professional inspectors who perform random sampling checks on packaged products to verify quality, labeling accuracy, and packaging integrity. Photos and videos are recorded for traceability, ensuring every shipment meets standards and arrives in perfect condition.
Comprehensive Check
Verify that packaged products meet functional and appearance standards without damage or defects.
Packaging Verification
Confirm that each unit is securely packaged, correctly labeled, and well protected to prevent damage during transportation.
Real Cases of Quality Enhancement
Continuous optimization is at the core of our quality philosophy. Through detailed inspection, process upgrades, and data-driven improvements, we ensure our products achieve superior performance, consistency, and reliability in every batch.
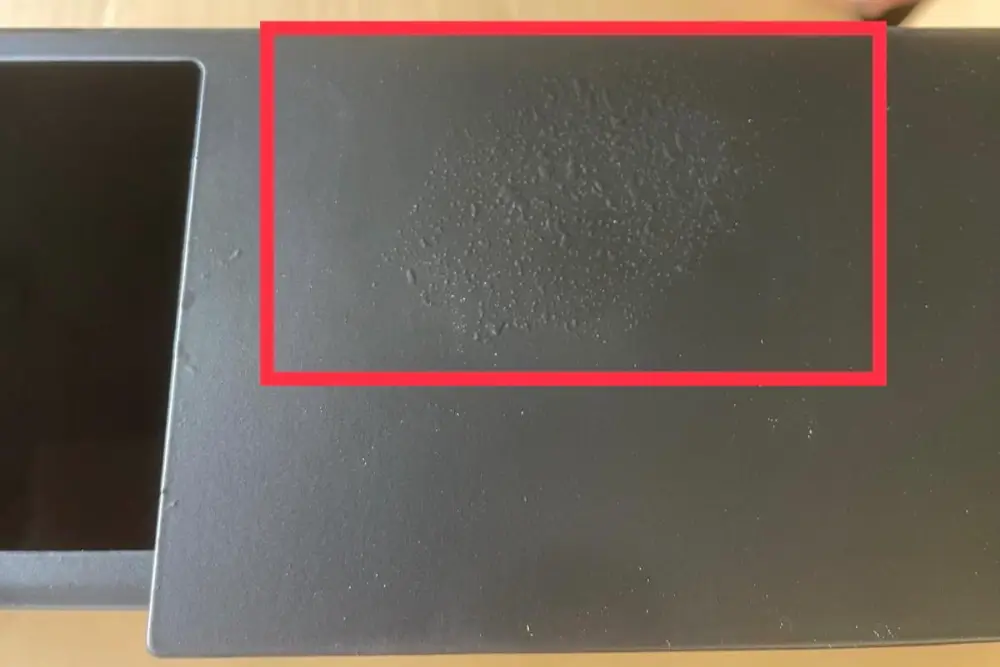
Surface Coating Defects During Mass Production
- Key Challenge
A large batch for a European furniture brand had minor coating defects—uneven texture and color variation. Root cause analysis pinpointed humidity fluctuations and poor filtration. For this premium brand, such flaws risked reputation and increased rework.
- ShengHua Solution
ShengHua’s teams halted production to diagnose the cause via surface inspection and environmental data. They upgraded the coating booth with humidity sensors and better filtration, adding an ionized air pre-cleaning step. A 100% final inspection now ensures consistency before packaging.
- Result
Within two weeks, coating uniformity improved by 98%, with no further surface issues across three consecutive runs. The client valued ShengHua’s swift response, transparent communication, and commitment to improvement, strengthening mutual trust and future cooperation.
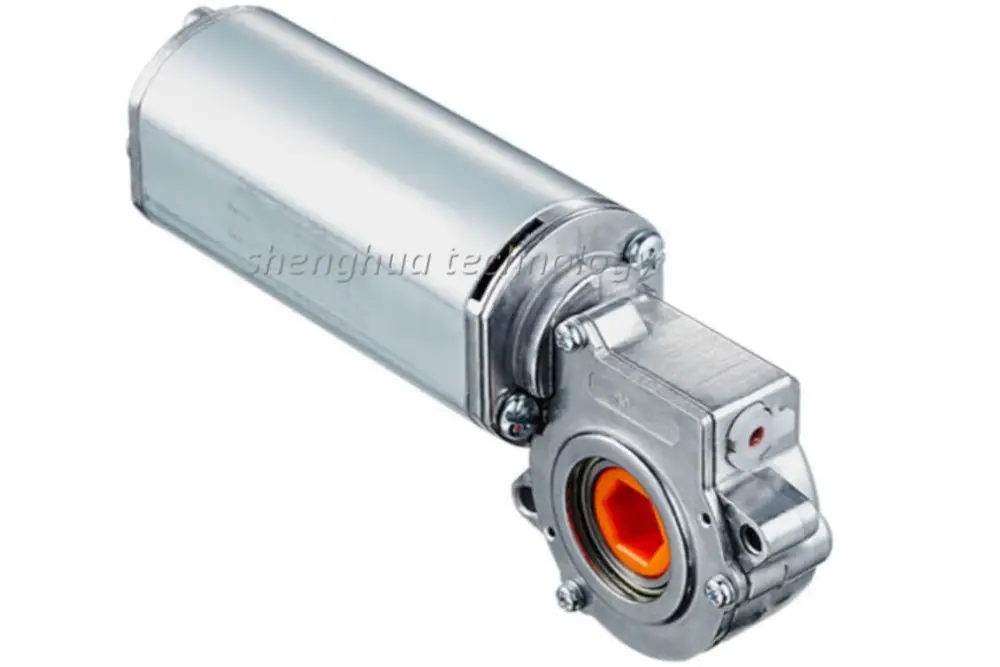
Motor Noise Above Standard Level
- Key Challenge
A client in Northern Europe reported that some samples of a dual-motor desk model produced slightly higher noise than expected. Although the performance was stable, the sound level exceeded 45 dB — above the client’s brand standard for “silent operation.”
- ShengHua Solution
The engineering team conducted a joint test with the motor supplier to analyze torque balance, gear lubrication, and motor housing resonance. The root cause was identified as a lubrication inconsistency in a specific batch of gearboxes. ShengHua immediately adjusted the supplier’s QC checklist and added a random load test for every 50 motors. In addition, an acoustic test station was integrated into the final inspection line to ensure all desks stayed below 40 dB.
- Result
Noise levels dropped by 12%, achieving stable operation under 38 dB. The client was satisfied with the proactive handling.
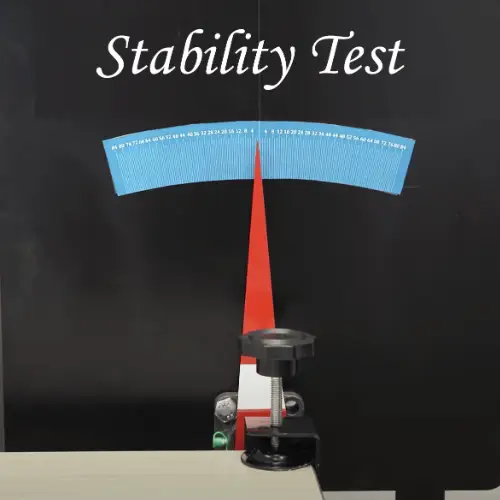
Frame Instability Detected During Assembly
- Key Challenge
During an assembly audit for a new model, minor instability was observed when the desk reached full height. The movement was within tolerance but not ideal for a premium product line aimed at corporate clients requiring extra stability for multi-monitor setups.
- ShengHua Solution
The engineering team conducted vibration analysis and discovered the issue originated from slight dimensional variations in the upper column tubes. Tolerances were optimized by switching to a higher-precision cutting process and adding a fit-check gauge during semi-finished inspection. The reinforcement bracket thickness was also increased by 0.2 mm without affecting overall design.
- Result
Frame stability improved by 25% during full-extension tests, exceeding BIFMA standards. The upgraded process was applied to all future models, strengthening customer confidence in ShengHua’s engineering precision.
